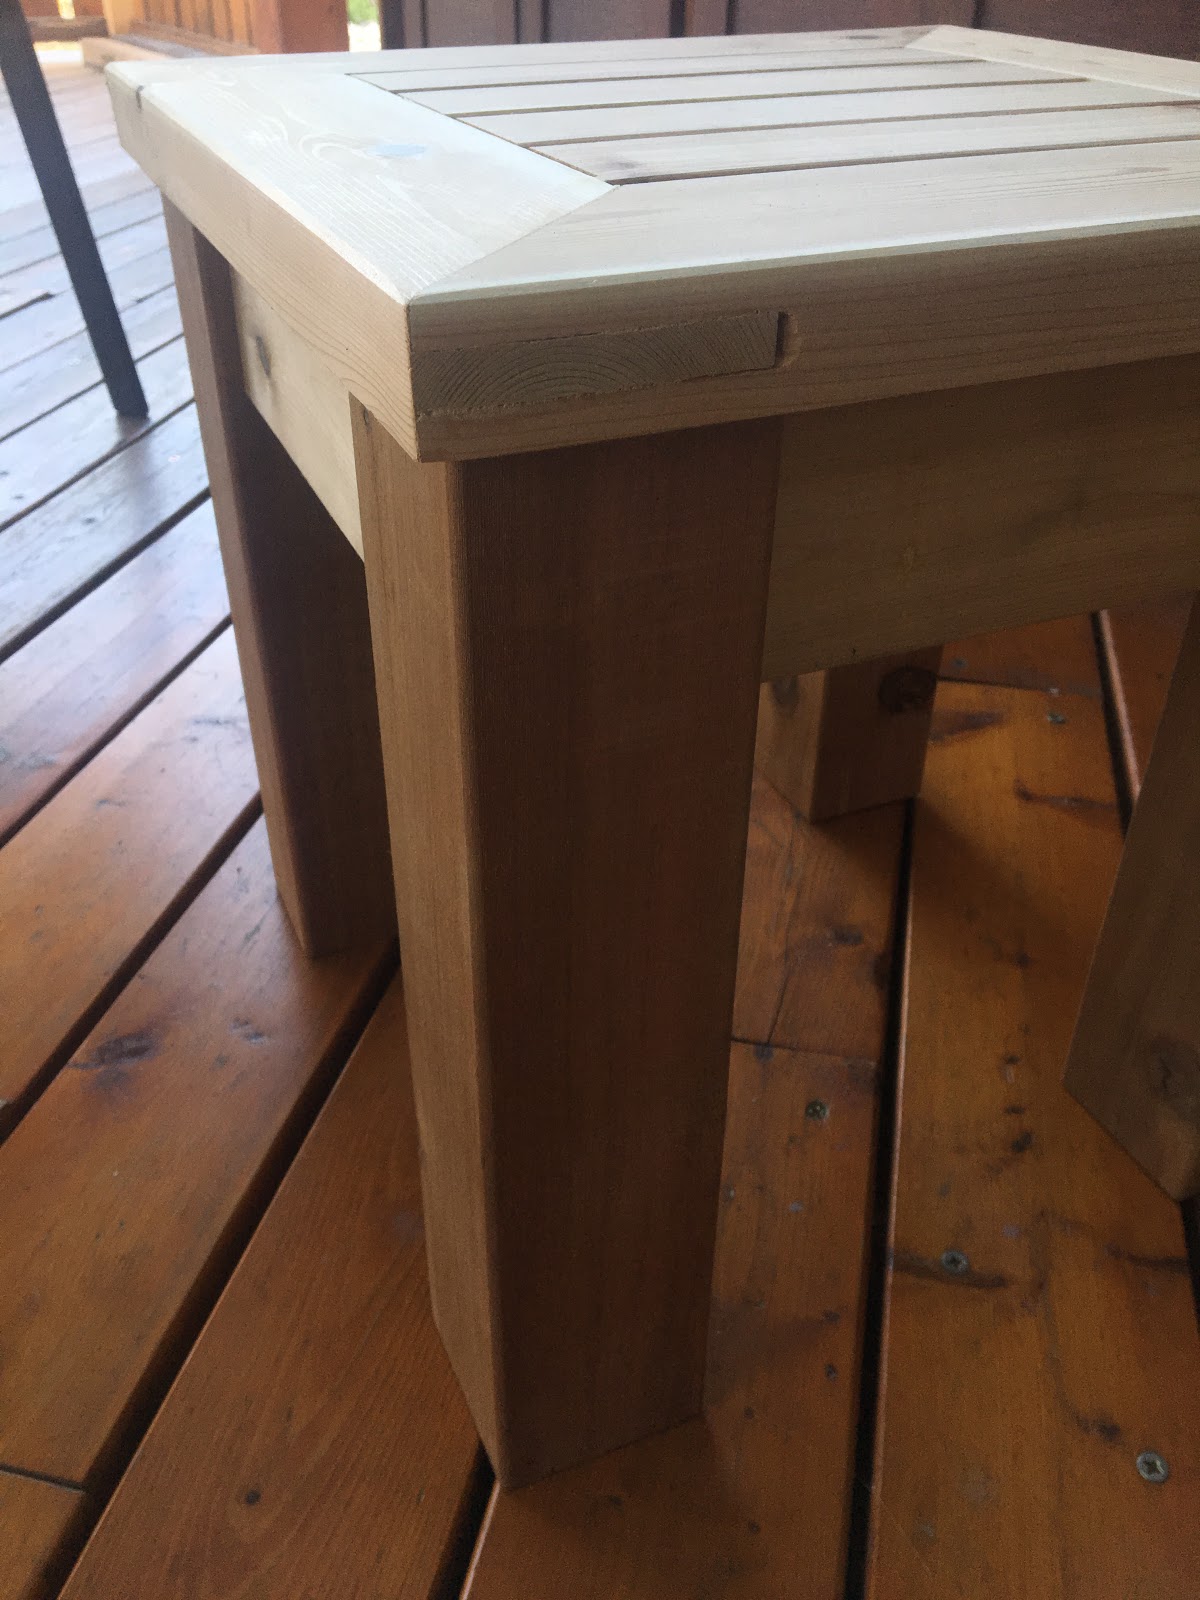
First thing I did was to finish my workbench extension so to have a bit more space to occupy (or to mess with).
 |
| My last workbench extension. |
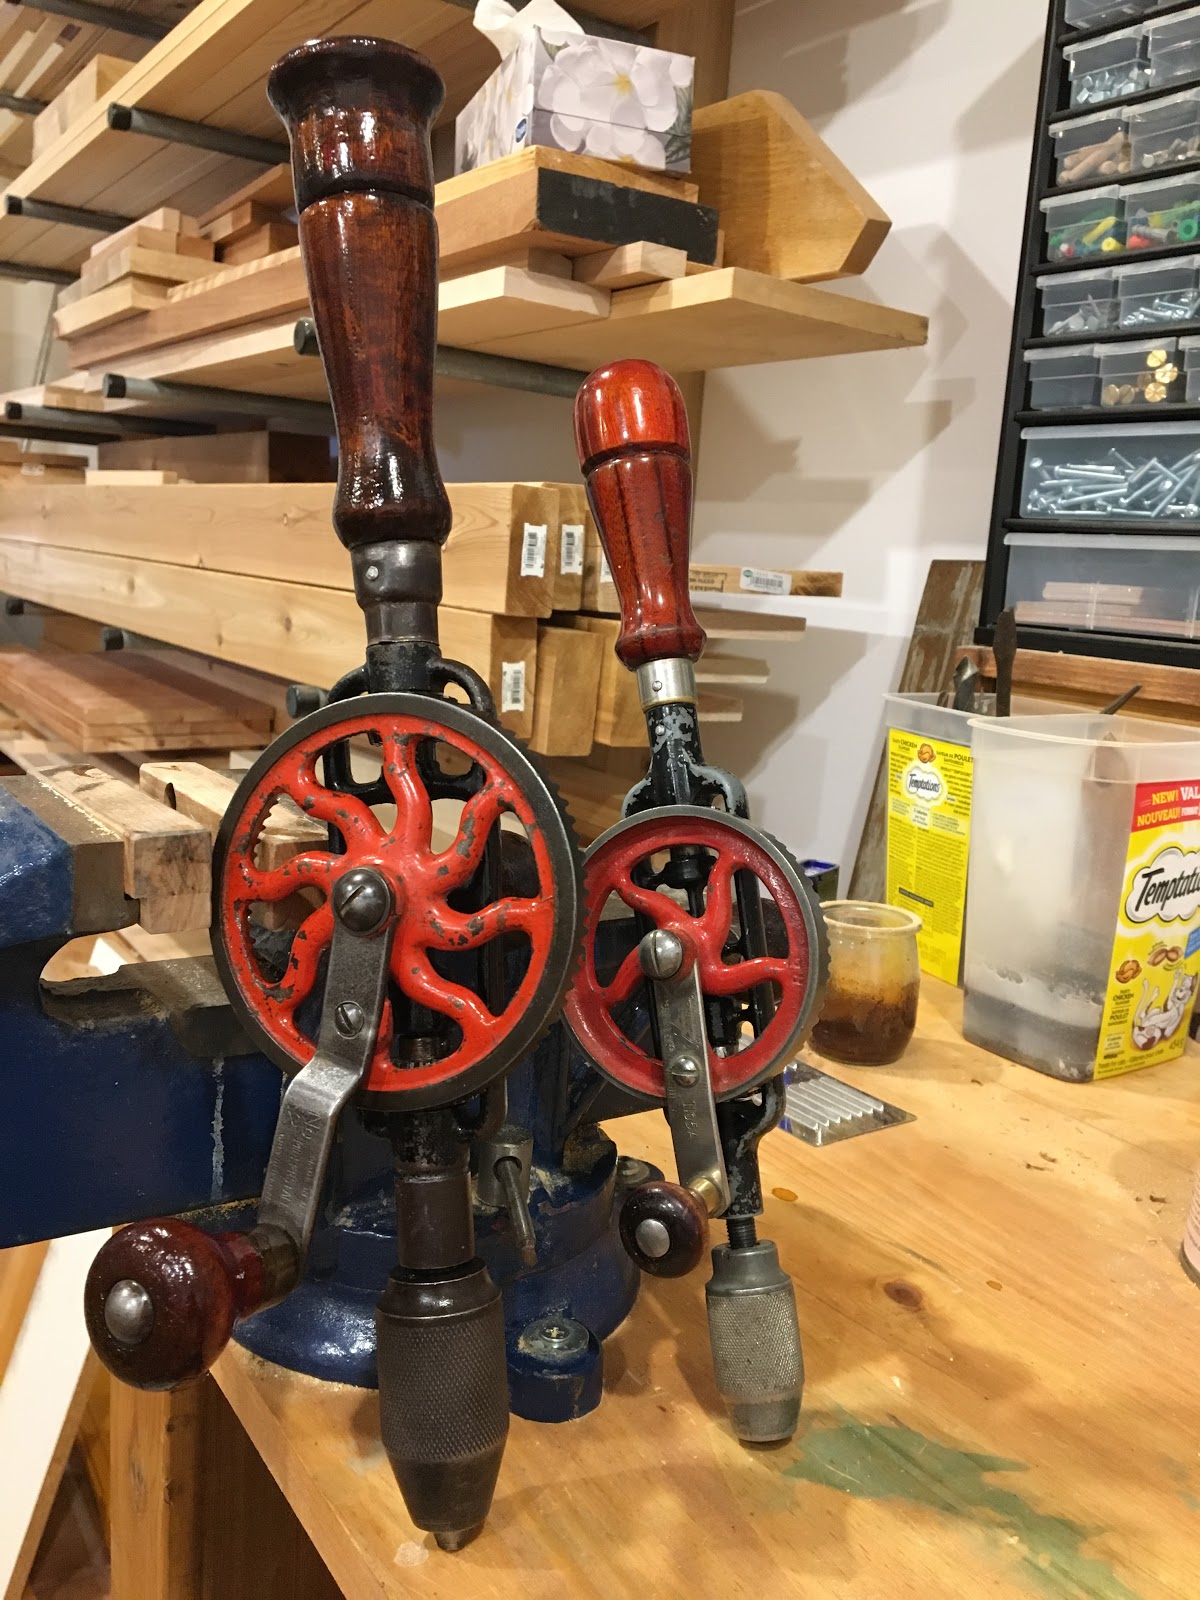
I now need a support on the wall to hang my hand braces. I have 5 of them and I want to get them properly stored and easily reachable. So back to the drawing board I came up with this plan:
 |
| The current plan, front view at the top, each side view at the bottom. |
I will build this from some unused pine boards I already have. The back board will be made from a 16"x36" laminated board, top and side will be pine 1"x6". Top and side will be assembled using dovetails and the assembly will be pegged to the back board. This will be a good opportunity to try myself to dovetails for the first time. Brace supports will be length of 7/16" peg.
 |
| My brace set. |
First thing is to ensure that I will drill straight, so I need to build a guide to help drilling holes in the back board. I have a Stanley #59 doweling jig but I cannot use it on a board as is as it is intended to be set on a beam and not on a board. I will use a piece of scrap wood marked with center lines on both axis onto which will come the doweling jig. The piece of wood will be drilled through and will be clamped on the back board.
 |
| Stanley #59 doweling jig and the needed material: a piece of scrap wood and a cold one |
After having checked that the piece of wood is perfectly straight and square, I carefully marked center lines.
 |
| Center line carefully marked. |
I then set the jig onto the piece of wood at the cross point then drilled a hole with a hand brace.
 |
| The jig set right on the cross mark... |
 |
| ... this will allow me to drill straight on the board. |
I marked the board with crossing lines where the holes for the dowels will be drilled so to set the jig right on spot.
 |
| Cross marks on the board to center the jig. |
The jig is simply held in place using a C clamp and set in order to align lines on the board and lines on the jig.
 |
| ...ready to drill |
 |
| The jig in place for the first hole... |
It did not take long to have the 10 holes done.
 |
| Holes drilled and ready to receive their piece of peg. |
Next step is to take care of the needed pegs. I cut 10 length of 4"3/4.
 |
| 10 pegs, each 4"3/4 long. |
I then beveled each dowel end that will go through the board and rounded the other. I used a convenient tool for this, a simple pencil sharpener.
 |
| Using a pencil sharpener to bevel one end of each dowel. |
Lastly I glued each dowel on the board and ensured they all are at the same depth using a depth gauge.
 |
| Checking dowel depth. |
 |
| The dowels glued on the back board. |
I will next tackle the shelf that will go on top of the board.