Recently I got 2 router planes at auction, a Stanley #71 type 9 and a Stanley #71 1/2 type 3. They are both in correct condition but need a good cleanup. They are also both incomplete, the #71 is missing the depth post and stop and the #71 1/2 is missing depth adjustment wheel so I will need to find the missing parts.
First step of the restoration was to disassemble the planes, removing all parts and knobs. I then gave them a good bath in the rust remover green slime, brushed them, rinse them and wipe them with few drop of thin oil.
 |
The two planes after a good cleanup.
The 71 1/2 on the right was black covered with gunk. |
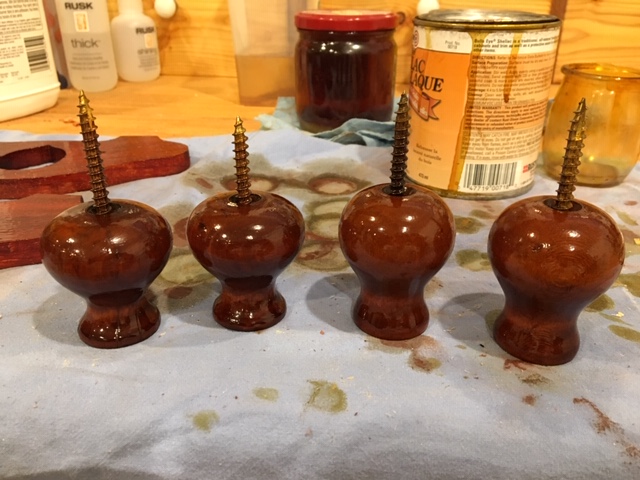
I also sanded the knobs to bare wood and stained them with the same stain I used on the miter saw tote (red chestnut).
I want to add a wood sole to both of them. To make these sole I found a leftover scrap of padouk that will be perfect for this.
I started by screwing both plane to the board so I can trace their contour with a pencil.
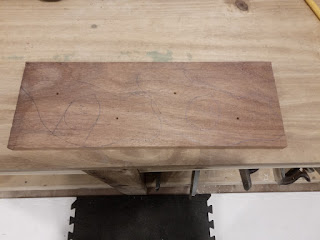 |
| The padouk board showing each plane contour. |
The contour traced first step was to drill the center mouth. I was very lucky to have an expansive wood bit to do this. I have 2 of them, an Irwin #21 and an Irwin #22. Here the hole is 1"1/2 wide so the #21 will be enough.
 |
| The Irwin #21 expansive brace bit. |
I mounted it on my hand brace, started to drill on one face until the center bit went through, then turned the board and finished to drill from the other face so the hole is clean cut.
 |
| Drilling a hole of this size requires some effort. |
 |
| Both center mouth clean cut. |
Next step was to remove as much wood as possible around the contour. For this I used the smaller Disston D8 I have, it is 10tpi so the cut was quite clean.
 |
| Using the saw to remove excess wood around. |
I then used a sharp chisel to carve the wood along the traced contour. Finally I put each plane back on its wood sole and used the pencil tip to trace where the sole was to wide then sanded that extra wood off.
 |
| Chiseling the sole contour. |
 |
| The plan back on the raw sole to mark excess wood. |
At the end I got two soles matching the plane shape almost perfectly.
 |
| The two soles, while similar they are not identical. |
 |
| Almost a perfect match. |
I added a small chamfer to the sole and used a 50/50 mix or turpentine and boiled linseed oil as a first coat.
 |
| The oiled soles and the stained knobs left to dry overnight |
The soles and knobs will be left to dry overnight and will receive 4 coats of shellac tomorrow.