I need to cut the top board to be able to finish my TV stand project and as written in my
last post, I wanted to make a sawyer bench to be more comfortable when sawing. So I put the TV stand on hold for few days so to build my sawyer bench.
After some research on this subject and after seeing some variations about it, I based mine on the one from Tom Fidgen. You can see some example of his design (well not sure if this is his design but the design he documented at least)
here.
I however adapted the dimensions described in his book to the wood I already have in my shop as the goal here is to use what I already have that is to say mostly some offcut from other project(s).
In summary mine will be 19
1/2 inches high, 36 inches long and around 15
1/2 inches wide.
Legs are 1
1/2x2
1/2 , the two top boards are 1
1/2x7
1/2, the stretchers are 3/4x3
1/2, same for the aprons, and finally the cleat are 1x1 scraps.
The reason for these dimensions is to maximize wood usage and minimize waste. This said lets jump into the real work!
Step 1: Cut all parts to length.
This is an easy one. I used the my Stanley miter box to be sure to cut square without headache but this can be done directly with a back saw.
 |
| A bunch of parts cut to length. |
Step 2: Give it some nice legs
Basically two things need to be done on each leg. First cut the notch on the end of the leg where it will be attached to the top board, second cut the notch on the leg for the lap join with the horizontal stretcher.
I used the top board to mark the notch size on the leg top end and the stretcher to mark the size of the bottom notch, 3 inches from the leg bottom end.
For the two straight legs, the top notch is easy, just cut on one side with a rip saw and the other side with a crosscut, clean the cut with a chisel or better with a shoulder plane and you are done.
For the slanted legs I started to cut each end to the correct angle, then marked the top board thickness and finally the cut. Depth of cut should be half of the leg but this does not really matter provided the leg is used to mark the top board afterward.
 |
| Slanted legs top cut. |
For the notch for the bottom stretcher, it is even easier. Cut each side with the crosscut saw, then saw parallel cuts in the waste and chop it with a chisel.
 |
| Multiple cuts on the waste... |
 |
| ...and chop chop chop. |
Finally I used a shoulder plane to clean the cut shoulders and bottom carefully checking the depth and width of the cut.
 |
| Few pass with the shoulder plane and we are done. |
Step 3: Top boards joinery
The two top boards need to be notched the same way the legs lap joins were cut. I used the legs to mark the cut depth and the stretchers to mark the cut width. It does not really matter where the cut are located (meaning no need to exactly measure from ends) provided that they are the same on the two boards and matching legs and stretchers.
Step 4: Dry fit stretchers and legs assembly
After having cleaned the joins it is time to test the legs and stretchers assembly. It should give a snug fit with no gap.
 |
| Legs and stretcher assembly dry fit... |
 |
| ...no gap |
Then dry fit the assembly with each top boards.
 |
| Top board and legs assembly dry fit. |
 |
| The two assemblies side by side. |
Step 5: Aprons and cleats.
The last parts to be made are the two aprons and cleats. I first cut one apron end to the same angle as the slanted legs, then positioned it between the two legs on the side by side dry fit and marked the other end with a pencil. I added 2 inches to the marked line for the middle space (but this can be any width) and cut the other end square.
The same thing needs to be done to the cleats, minus the legs depth.
Finally I glued the cleats on the aprons, done.
 |
| Apron and cleat assemblies. |
Step 6: Bird mouth, round and bevels.
Now that all parts are done, the last thing to do before final assembly is to finish the pieces. I cut the bird mouth on the top boards, rounded corners and beveled all edges.
 |
| Mouth bird and rounded corners. |
Step 7: Final assembly
The final assembly is pretty straightforward. First glue legs and stretchers.
 |
| Legs and stretcher glued. |
When dry, assemble with each top board.
 |
| Legs and top board glued. |
Reinforce all joins with dowels.
I used 3/8" dowels for legs and stretcher joins...
 |
| Legs and stretcher join reinforced with 3/8" dowels. |
...and 5/16" dowels for top board joins.
 |
| Top board join reinforced with 5/16" dowels. |
Lastly I affixed the aprons and cleats with screws.
Step 8: Step back and enjoy.
Now that my long awaited sawyer bench is done I can enjoy looking at it.
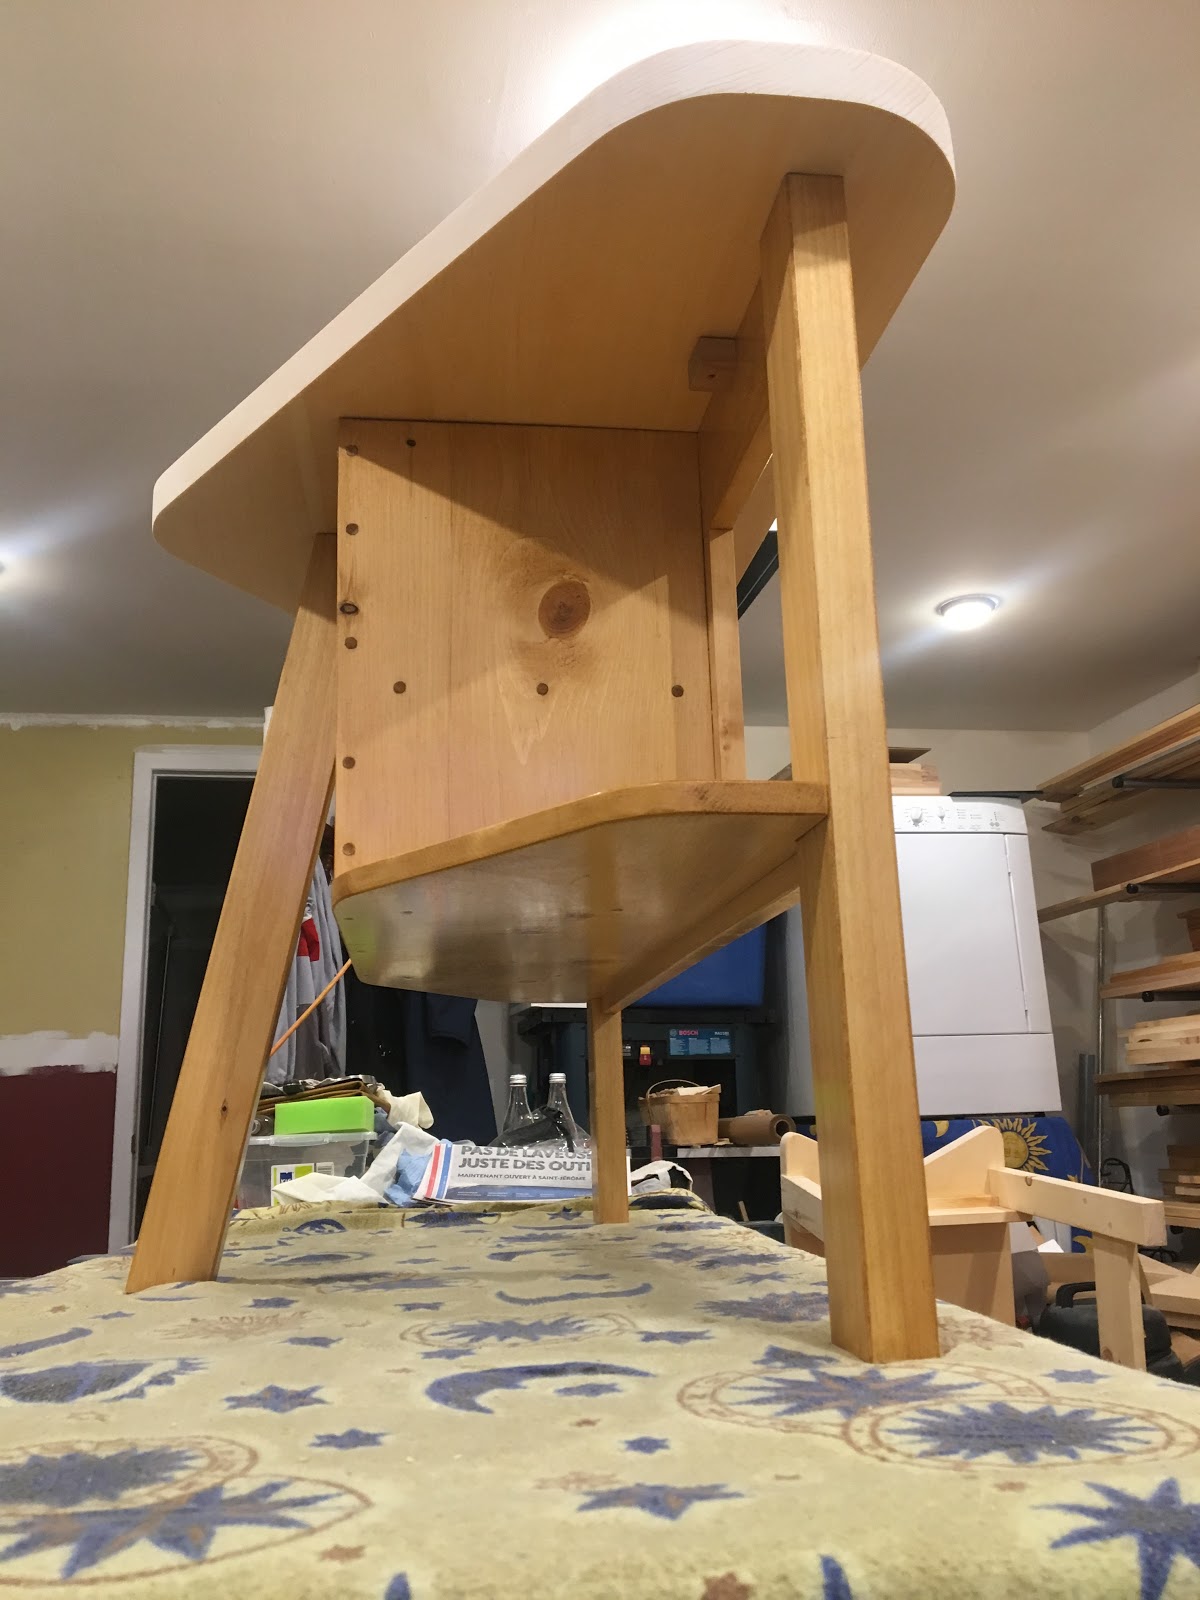
 |
| Bird mouth... |
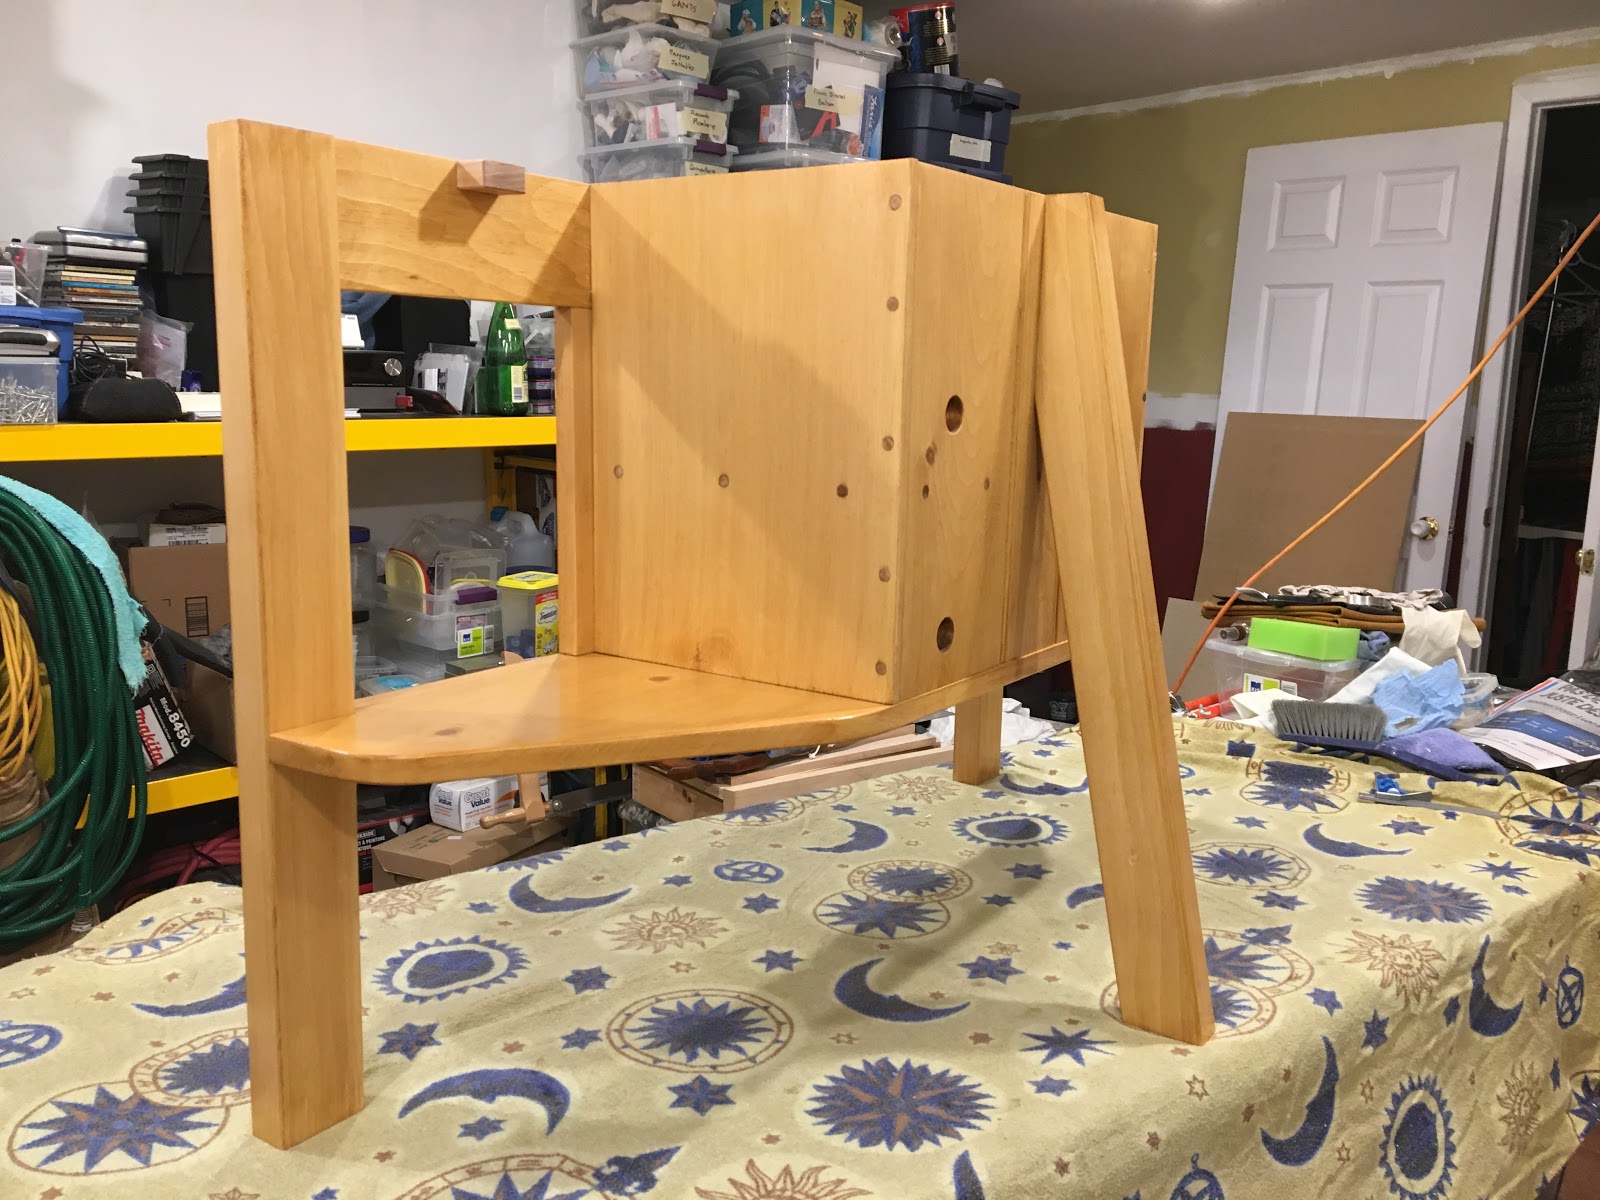
 |
| Butt view. |
I really enjoyed building this bench, first because I wanted one for quite some time and also because it was really a joy to work on it.
 |
| I like it very much! |
I will make a fence, drill holes for holdfast and apply some finish later as I first need to use it to finalize my TV stand.