
From last post, remained to cut the top board to size using my new sawyer bench.
It was the first time I used my sawyer bench, and in fact the first time I used any sawyer bench so I was a bit nervous as I did not want to miss cut that piece. The cut I needed to saw were diagonal so neither a real crosscut or rip cut, at the end I selected to use my Disston D8 Crosscut saw for this.
 |
| First cut. |
The cut went pretty well, surprisingly well in fact. The position on the sawyer bench is really nice and makes it far easier to get a straight cut. I was able to cut all along the marked line without any issue.
 |
| First cut done along the line... |
 |
| ...and square. |
After that first milestone I cut the other side, full of positive energy. The cut went smooth and like the previous one it was pretty easy to cut straight along the line. However this last one was a bit off square.
 |
| A bit off square. |
There was still no drama though, this is nothing a plane cannot easily fix.
After having cut the right and left side I was done and got the top rough cut.
 |
| The top board rough form cut. |
Next I needed to round the angles. I started to cut most of the waste using a back saw...
 |
| Most of the waste is cut with a back saw. |
...then used a chisel to roughly make the rounded part.
 |
| The remaining is chiseled out. |
This gave me the rough top board shape.
 |
| Rough top board shape. |
I then used a spokeshave and a block plane to cleanup the round section and finally lightly sand it to get the final shape.
 |
| Final top board shape. |
After so much effort, this is finally the time I can do a dry fit and see how this will look at the end.
 |
| Front view... |
 |
| ...rear view... |
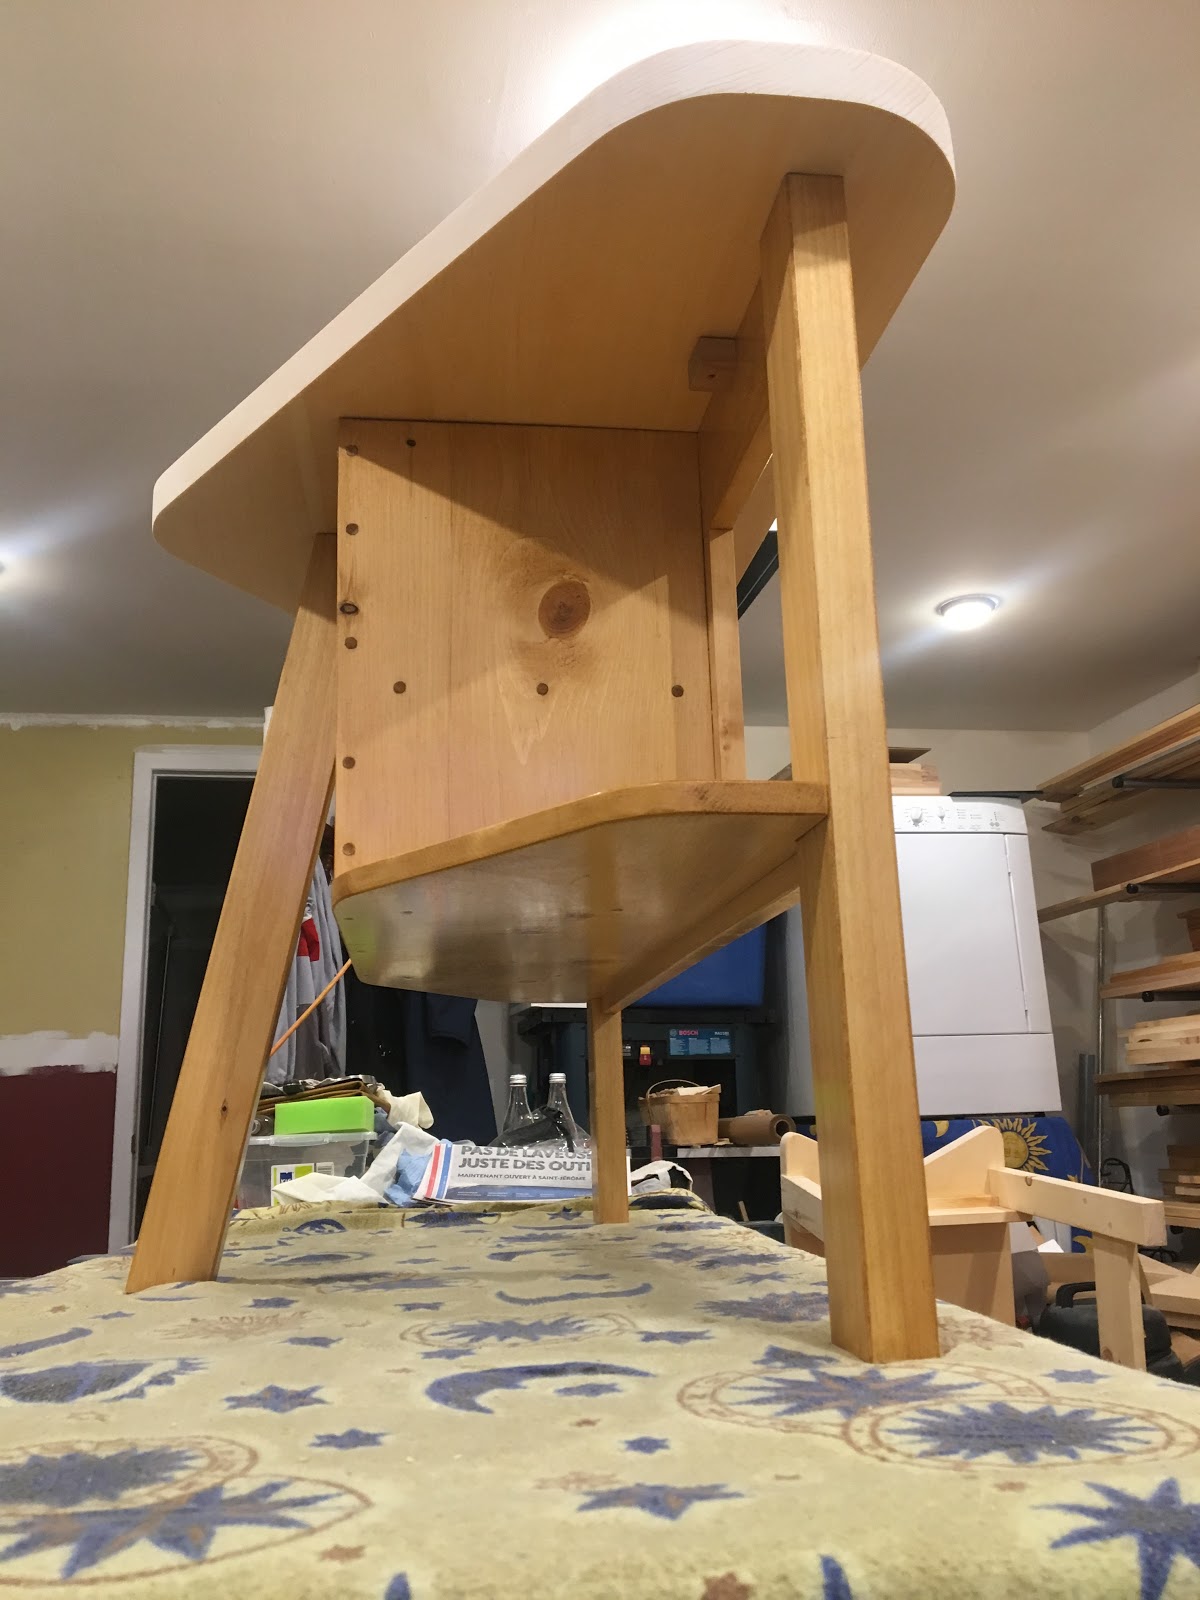 |
| ...and from below. |
I initially wanted to make a beveled edge raising from below the top board. I am wondering if I should still do that. I am not sure anymore that this beveled edge would look good and may just stick with a chamfer all around the top board.
Just a little extra effort to plane the top board perfectly flat and to apply the finish and I will be done and ready to deliver this to its final owner.
A chamfer IMO would be better than a bevel. I really like the kick stand look of the back leg.
ReplyDeleteThank you Ralph, indeed tonight I made a chamfer and it does looks good like this. For the back leg I initially wanted to make it tapered but did it straight to be similar to the front legs. Not sure yet if it would have looked better with a tapered one.
DeleteFeels good when a project finally comes together! I like the curves. Now just a bit of finish on the top, snap a picture or two and, voila!
ReplyDeleteYes that feels good after many days of work! I will have to deal with a last minute challenge I found tonight on the visible face (top) of the top board. While planing the board flat, a grow ring got thin and started to peel from the board (not sure how to explain this). I will need to find a solution. Planing more will not make it any better. Maybe applying a thicker coat of varnish will set it down and I will be able to sand it, not sure.
Delete