Monday, October 21, 2019

Almost done.

In my previous post I mentioned that I changed my mind about the design for the sides of the wall support and that these will be pegged on to the back board. So I carefully marked the holes location on each side and started to drill, but this time I did it by hand without a jig. I must admit that it was easier and quicker to do without the need to set the jig for each hole.

Peg holes drilled on each side.

I prepared a bunch of 5/16" dowels, cut to length and beveled using my pencil sharpener again.

A bunch of dowels to use for the sides assembly.

Then it was mostly a matter of drilling holes in the back board using the matching side hole as a guide, and gluing everything together.

First side assembly, please forgive the miserably cheap clamps,
 but for now this is all I got.

Waiting for the glue to set, I had time to practice my saw sharpening skills. This time I choose to sharpen a Taylor Brothers tenon saw.

The second saw I sharpened in my life of wood butchering.

This saw is a pretty heavy one with its brass back but the handle is well shaped to my hand. I cleaned the blade a bit using polishing paste and I did sharpen it. It took me something like 30 minutes to do. I will need to add more set to the teeth as the blade has a tendency to be stuck in the wood while cutting.

Taylor Brother etch is one of the nicest I ever saw.

For sharpening I am using a guide for fleam and rake made by Veritas. I must admit that it is a bit of a disappointment. Even when tightly set it has the bad tendency to loosen and to lost its setting what is not very enjoyable when you are in the middle of a file stroke.

Back to the brace support, after the glue has dried and the clamps were removed I took a look of the result.

First side assembly done awaiting cleanup.

It was time for the second side assembly so I followed the same steps.

Second side assembly

When the glue had set it was time for a bit of cleanup. I chopped the dowels flat using a chisel then planed a bit the sides. I then chamfered all angles with my little big plane, a Craftsman 3905 hobby plane.

Chisel and tiny plane at work to chamfer all angles.

I really love this plane and it is one that I used very often, either for bevel/chamfer or on end grain it is a pleasure to use.

After some light sanding the support is ready to receive its finish.

Ready for finishing.

Note to self: remember to remove pencil marks BEFORE final assembly as it is a PIA to remove them afterward.

I am first applying a mix of turpentine/linseed oil as a base coat, I like the way it enhance the "golden" aspect of the pine. When it will have dried out I will apply 3 coats of blonde shellac and will call it done.

A coat of turpentine/linseed oil mix improve the
golden aspect of the pine.

Friday, October 18, 2019

Changed my mind... Again!

Yesterday while continuing with my hand brace wall support and looking at the plan I came up with I changed my mind regarding the design of the side and top shelf. The updated plan is shown below.

On the left, the new design of the side and top shelf.

The side will go over the shelf and will be convexly rounded a the top and concavely at the bottom. This looks more pleasant to my eyes that way. As a consequence I will play with dovetails later as the assembly now will be made all the way with dowels.

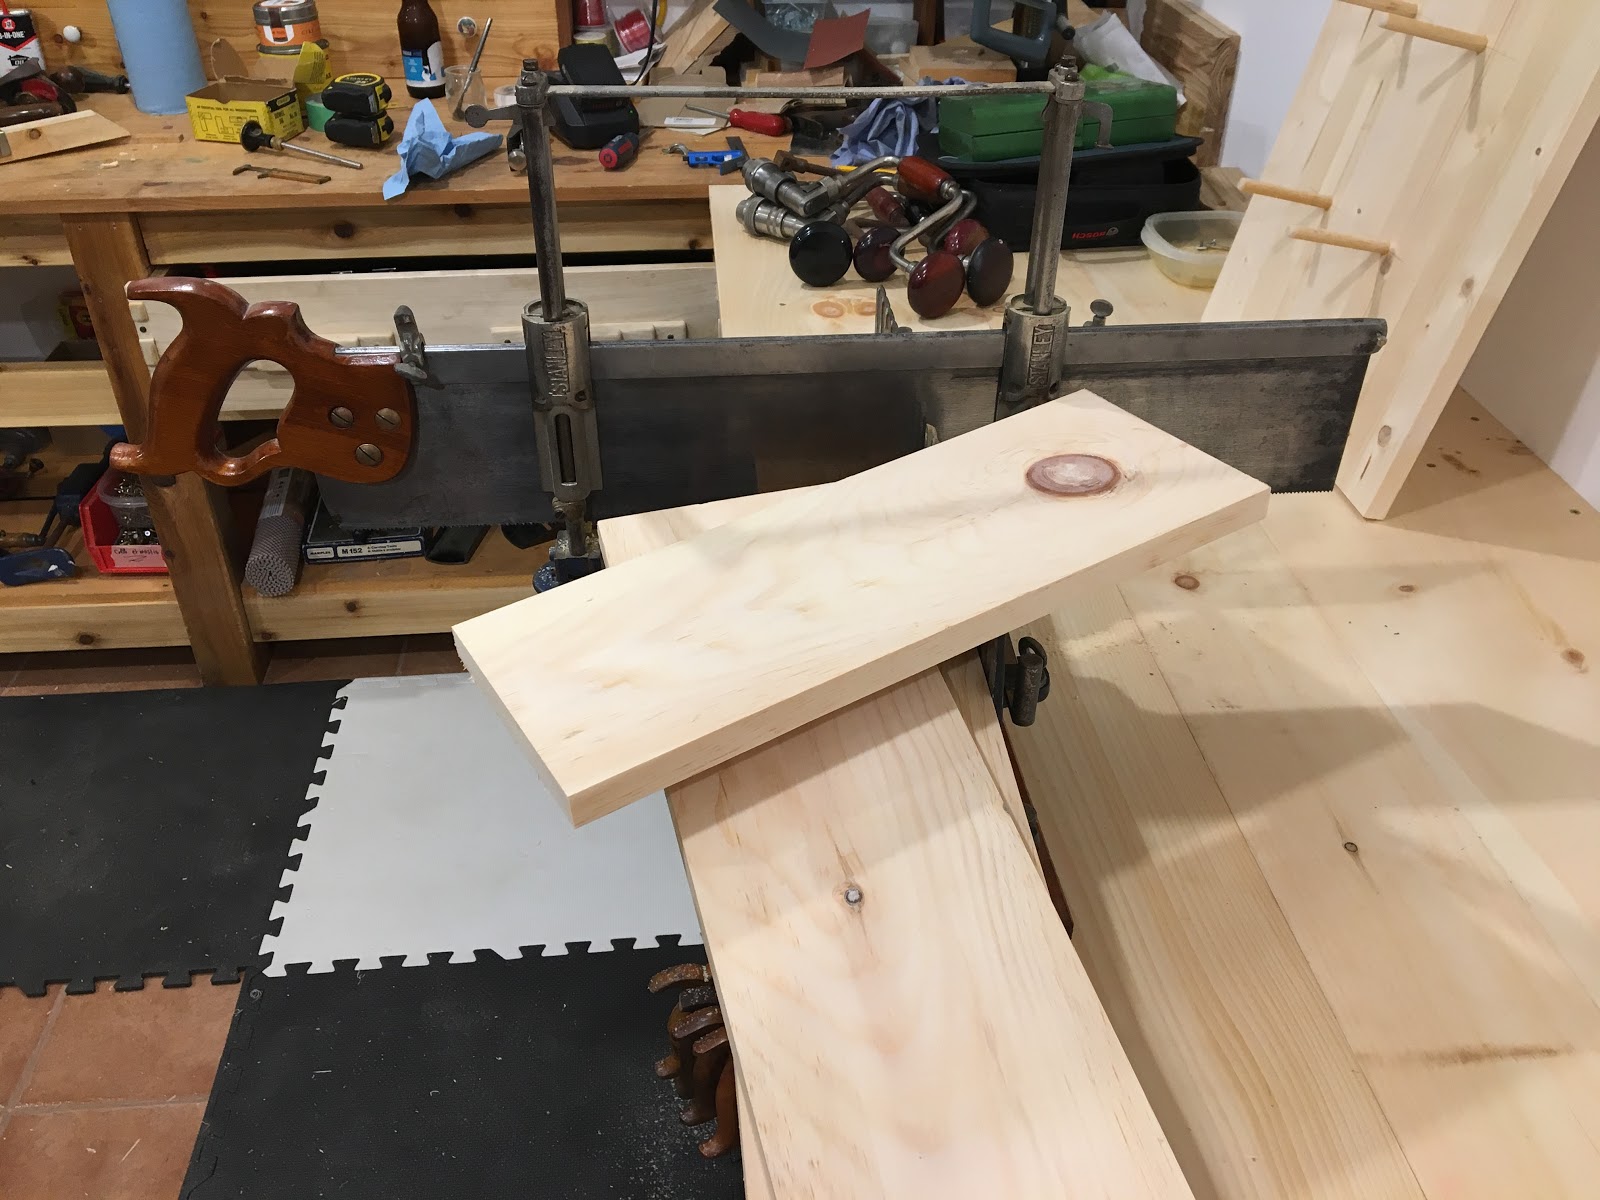
I cut the needed piece using my venerable the miter box. Here the length of the shelf is of importance but the length of the vertical sides is not, provided that they are of same length. So I cut the shelf to the exact length and cut the remaining of the board in two pieces.

All 3 pieces cut on the venerable miter box.

Next is to mark the rounded ends. For this I used a divider with sharp tips to make a faint mark on the wood that I then highlighted with a pencil.

On the left, one side marked.

Here I am only marking one side that I will cut and then use as a template for the other side.
I removed most of the waste using a coping saw and used my set of spokeshaves to plane to the marked line. I got this spokeshaves set (flat sole and rounded sole) for a good price and this is the first time I use them. After 10 minutes of sharpening they were very nice to use.

Using the flat sole spokeshave for the convexly
rounded end...

...and the rounded sole spokeshave for the
concavely rounded end.

When the first side was done I used it as a template to mark the other side.

Using the first side as a template for the second.

When the second side was done I clamped both of them side by side and used the spokeshaves to ensure the rounded ends were exactly the same.

Planning both boards clamped side by side to
make the rounded ends identical.

When finished this is how it will looks like.

Dry fit, looks good to me.

Stay tuned for the final assembly!


Thursday, October 17, 2019

Hand brace wall support

After some other things to tackle related to our boat, three weeks of vacation in the beautiful Nova Scotia, and going through an hurricane there, here I am finally back to some woodworking.
First thing I did was to finish my workbench extension so to have a bit more space to occupy (or to mess with).

My last workbench extension.

I now need a support on the wall to hang my hand braces. I have 5 of them and I want to get them properly stored and easily reachable. So back to the drawing board I came up with this plan:

The current plan, front view at the top,
each side view at the bottom.

I will build this from some unused pine boards I already have. The back board will be made from a 16"x36" laminated board, top and side will be pine 1"x6". Top and side will be assembled using dovetails and the assembly will be pegged to the back board. This will be a good opportunity to try myself to dovetails for the first time. Brace supports will be length of 7/16" peg.

My brace set.

First thing is to ensure that I will drill straight, so I need to build a guide to help drilling holes in the back board. I have a Stanley #59 doweling jig but I cannot use it on a board as is as it is intended to be set on a beam and not on a board. I will use a piece of scrap wood marked with center lines on both axis onto which will come the doweling jig. The piece of wood will be drilled through and will be clamped on the back board.


Stanley #59 doweling jig and the needed material:
a piece of scrap wood and a cold one

After having checked that the piece of wood is perfectly straight and square, I carefully marked center lines.

Center line carefully marked.

I then set the jig onto the piece of wood at the cross point then drilled a hole with a hand brace.

The jig set right on the cross mark...
... this will allow me to drill straight
 on the board. 


I marked the board with crossing lines where the holes for the dowels will be drilled so to set the jig right on spot.

Cross marks on the board to center the jig.

The jig is simply held in place using a C clamp and set in order to align lines on the board and lines on the jig.

...ready to drill
The jig in place for the first hole...
It did not take long to have the 10 holes done.

Holes drilled and ready to receive their piece of peg.

Next step is to take care of the needed pegs. I cut 10 length of 4"3/4.

10 pegs, each 4"3/4 long.

I then beveled each dowel end that will go through the board and rounded the other. I used a convenient tool for this, a simple pencil sharpener.

Using a pencil sharpener to bevel one end of each dowel.
Lastly I glued each dowel on the board and ensured they all are at the same depth using a depth gauge.

Checking dowel depth.
The dowels glued on the back board.
I will next tackle the shelf that will go on top of the board.


Monday, August 19, 2019

Vintage tools: Millers Falls No2 hand drill.

A while ago I found a Millers Falls No2 hand drill for a cheap price on EBay so I jumped on it. For few months it was just sitting on a shelve waiting for me to wake up. The drill is in correct condition but the handle shows some dirty green paint, maybe the previous owner used it to blend his paint stock, who knows!

Can you spot the green paint on the cap?
That flowed all over the handle

I started by disassembling the drill in pieces so to clean and lubricate gears and to restore the handles.

The main wheel is in good shape, teeth are not showing any wear, just some grease gunk.

The main wheel is in good shape.

I sanded the handles so to remove that ugly green paint. I am not sure what wood has been used but there was a reddish stain below the green paint and varnish.

One handle sanded.

After cleaning handles from dust I gave them a coat of red mahogany stain.

Handles after a coat of red mahogany stain.

Following the stain I applied 5 coats of amber shellac as a finish.

The handles after their 5th and last coat of amber shellac.

After having oiled properly all gears and bearing I put everything back together.

The final result.

Now, restoration purists and tools lovers, stop reading further as what follows may hurt your feelings.

When I started that restoration I found out that the main handle was loose. The handle was retained to the drill body by a pin, and after different tries I have been unable to remove that pin without risking to damage the handle but I needed to make that handle firm on the body. To do this I used a big hydraulic crimping tool, that I normally use while making battery cable to crimp cable lugs. I selected a pair of jaws that were just a tid smaller than the handle metal ring and I crimped the handle on the drill body. While not a conventional way of doing it this perfectly made the trick and the handle is now firm to the body.

The handle crimped on the body.

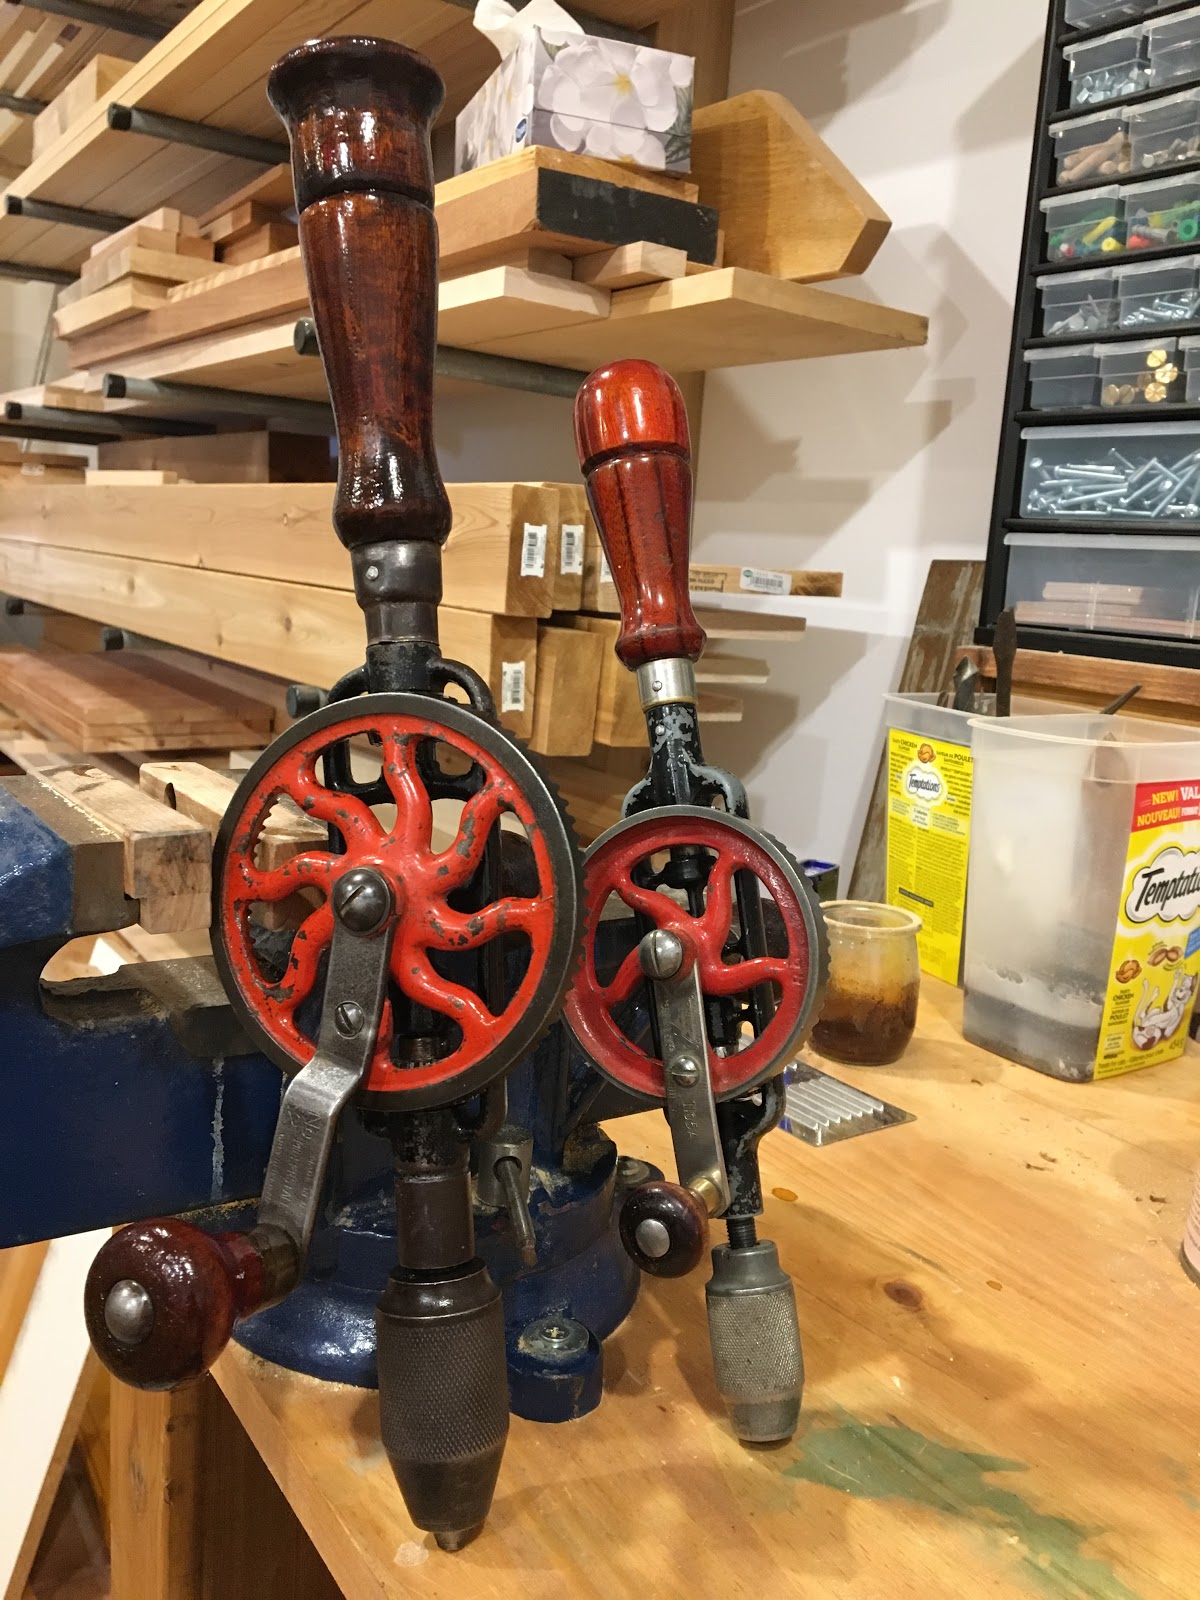
This is a very nice drill and I already like it very much. It will join my No 5 in the workshop.

No 2 and its little sister No 5 altogether.


Thursday, August 15, 2019

Coffee table - Done

After having glued the table base, remains for me to glue all table top parts together and do the final top to base assembly.

There is nothing much to say about gluing table top parts, just that I needed to be fast to be able to assemble all parts together in one shot. So fast in fact that I did not took any picture. Anyway not much to see.

After cleaning the dried glue, I opted to simply glue the top on the base.
After short session of intimacy with some sand paper to finalize the top, the result was this:

The final result.

I like the contrast between the darker legs and lighter top.
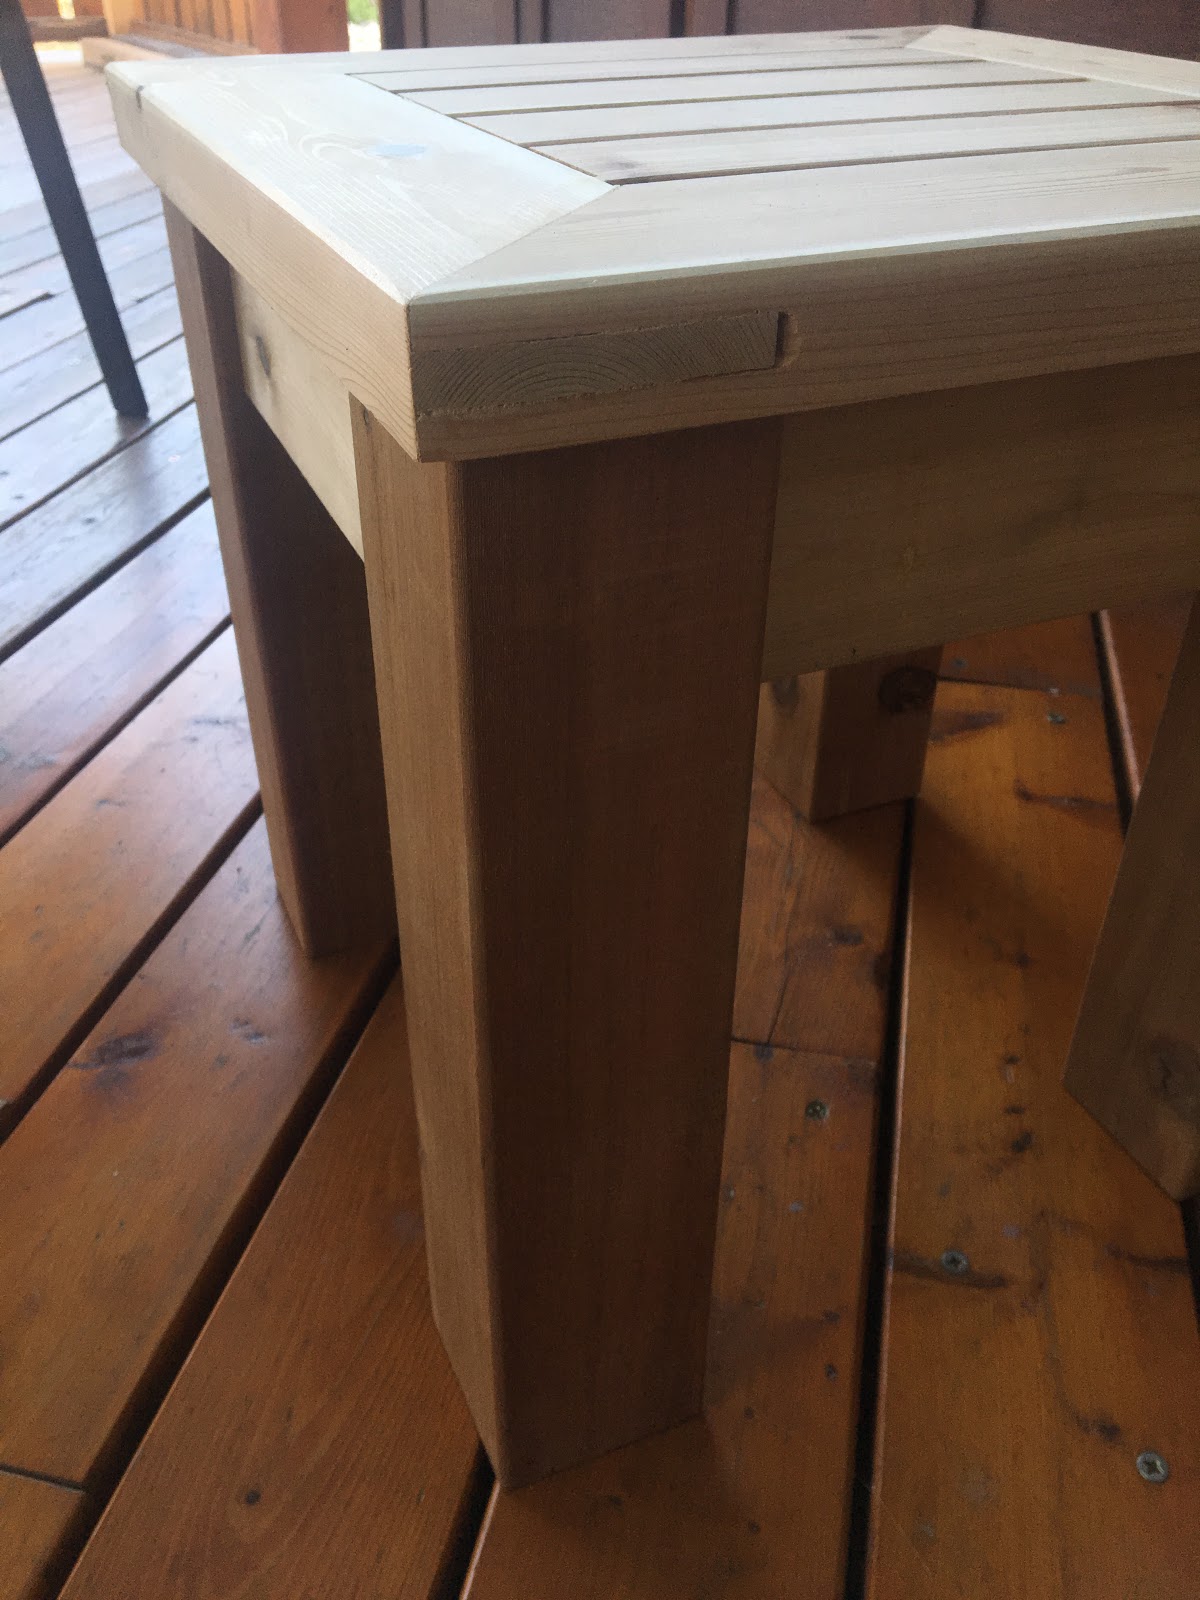
At the end the mitered joins on the top were not too bad.

Mitered joins ended not too bad.

However some mistakes are still visible on the side.

Some gap in the join...

I created that gap while chopping out the waste. The back of the chisel pushed on the angle and crushed the soft wood... some lesson learned.
Another lesson learned is that I love cedar, I love its smell, I love how it looks... However it is a bitch to work with because of its softness and fibers, better to be sure to use very sharp tools.

I will later put few coats of boiled linseed oil on it as the final finish, but for now time for a glass of wine to test the table!


Monday, August 12, 2019

Saw sharpening - First hands on experience

Few weeks ago I got my hands on a saw vise in correct condition but since then it was resting in my workshop waiting for some time for me to set it up and play with it. This weekend was the right moment.

I don't know exactly the brand of this vise but it is very similar looking to Wentworth saw vise.

This saw vise is looking like a Wentworth.

I made a simple wood support to fix it to my workbench at the desired height, low enough to allow me to look over it if standing up and high enough so I can sit on a stool to sharpen a saw.

My saw vise setup.
Before starting anything I read a lot of things regarding saw sharpening, from different sources, included some writings from Daryl Weir from who I got some really sharp saws.

In order to play safe my first try was a rip saw as crosscut saw teeth are more complex to sharpen. I selected a Disston D8 that I got for few bucks to play with.

Looking at it, it was clear and obvious that the teeth, while in good shape, were not of the same size at all so my first step was to use a file and a Veritas file holder for jointing the saw teeth.

Using the Veritas file holder for jointing the saw teeth.
After a dozen of strokes the teeth were showing a shiny flat tip.

Jointing the teeth to the same height.
That saw got 10 tpi to I selected a 6 inches X-slim taper file to sharpen it.
To set and control the file angle I used the Veritas saw file holder.

Before starting I set the saw blade so only a minimal part was protruding above the saw vise.

The saw blade set in the vise.
I started to stroke each other teeth from right to left (so from the heel to the tip), 3 strokes per teeth. It took me around 15 minutes to reach the saw tip. Then I switched the saw in the vise and did the same to the remaining teeth. Overall it took me 30 to 45 minutes to complete the whole blade.

Not easy to take a picture of the saw teeth!
After trying the saw I am pretty happy with it but I need more practice before trying to sharpen a crosscut saw. It was a nice experience and I have a bunch of backsaws that needs to be sharpened to improve my skills, much more fun ahead.
Some lessons learned while sharpening that saw was that first I prefer to do it standing on my feet so I can look to the saw from above. Second, a small level on the Veritas saw file holder would be a great addition as an easy way to visually check that it is handled correctly.