I think it will be better looking if the support is of same size of the previous one, and as I do not need the same space to store the 3 drills I own, I will add 2 shelves at the bottom so to store my drill bits.
The plan is now to get something like this:
 |
| The new plan. |
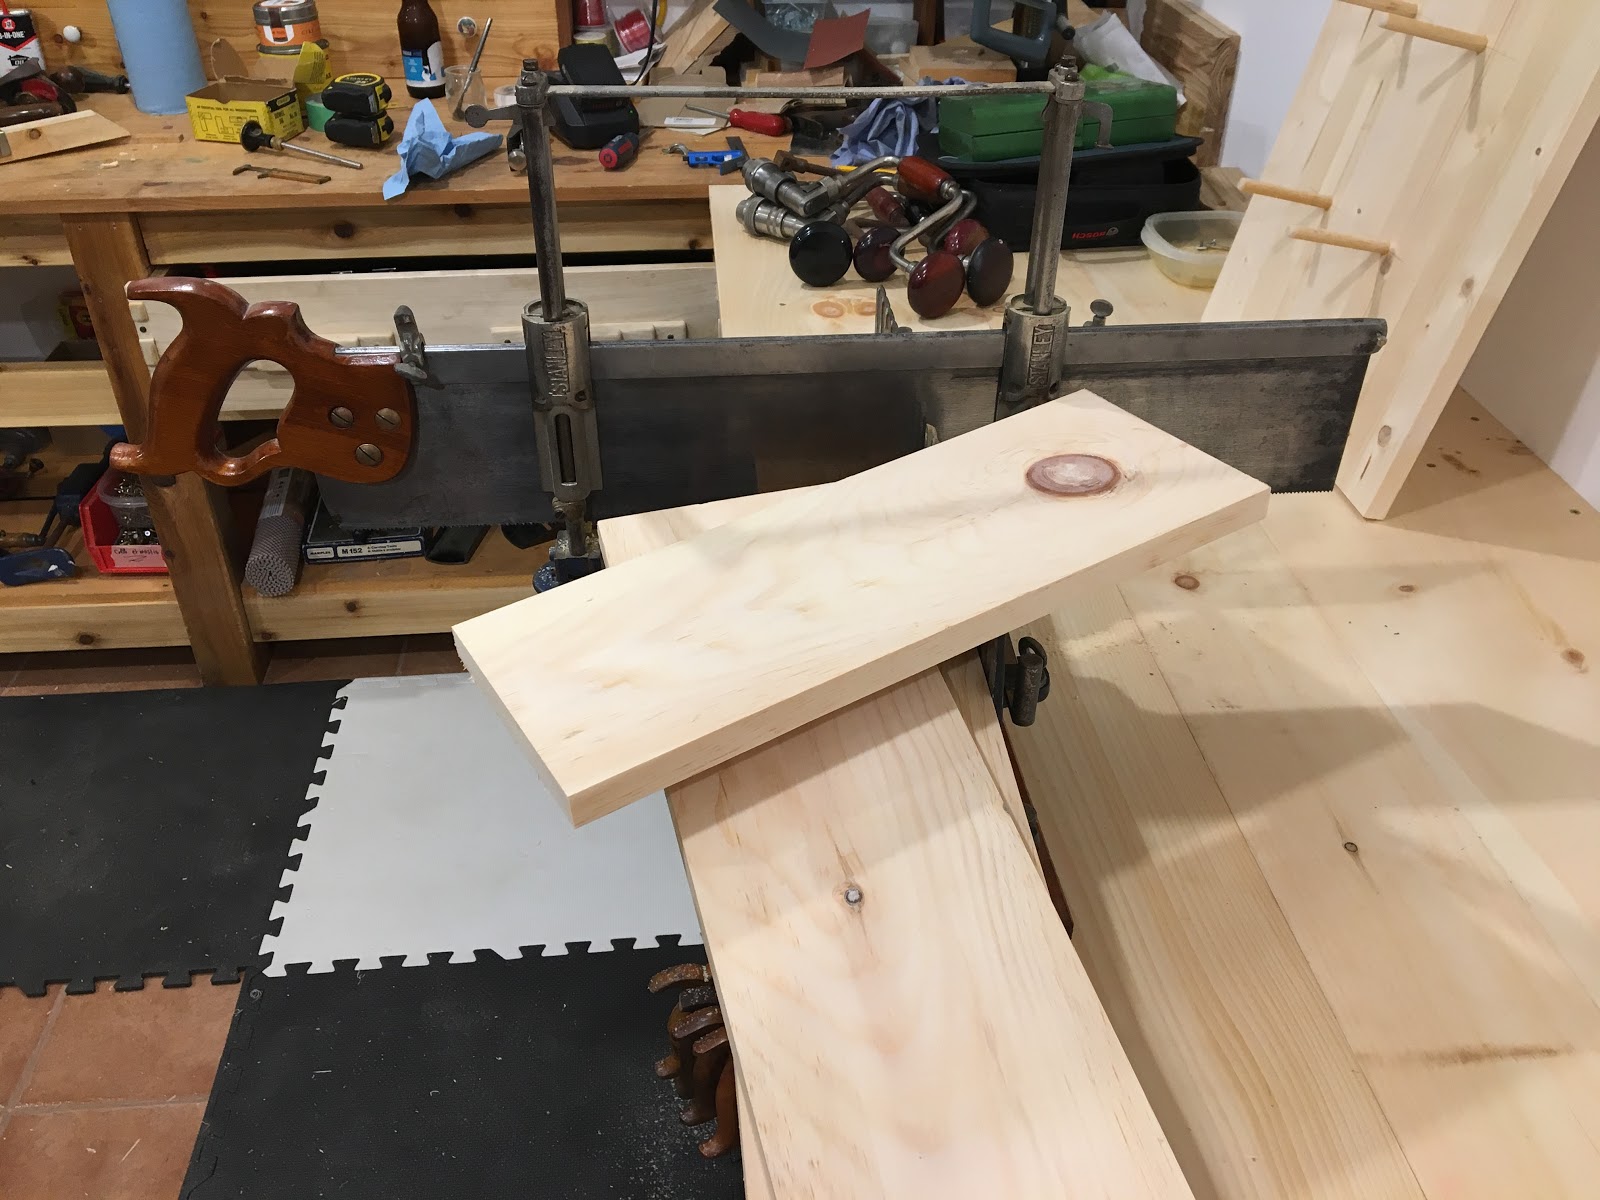
As usually the first step was to cut all pieces to length using the miter box, some sawing fun.
 |
| I love to play with this miter box. |
The needed material is a 16"x32" pine board to be used as the back, three 1"x6"x4' boards to be used for the shelves and sides. and a scrap piece of 1"x4" that will form the hanging support.
 |
| The pieces cut to length. |
Now that the pieces were cut I had to tackle the two lower shelves. These two will be notched to encompass the back board. First, I marked the board.
 |
| One of the shelf marked for cut. |
To cut the notch I used a backsaw to do parallel cut into the waste.
 |
| Using a backsaw to cut the waste. |
This saw was made by Footprint. When I got it I was expecting a cheaply made saw but was very surprised and I really love it. I find it well balanced and the tote is of perfect size for my hand.
 |
| The waste cut like a comb. |
Next I used a chisel to chop out the teeth of the waste comb.
 |
| Choping the waste. |
I then cleaned the remaining chunks to get the final result.
 |
| One shelf done. |
Repeat the same for the second shelf and I got a pair of shelves ready to be fitted.
 |
| A pair of shelves. |
Next step was to tackle the drills handing support. For this I cut 3 notches in the 1"x4" board. After marking the notches location, I started to drill a hole using a brace then I cut each side with the backsaw.
 |
| Drilled and cut on one side... |
 |
| ...waste removed, remains to clean the cut. |
After a bit of cleanup with a sharp chisel and two more notches, the support is done ready to be fitted.
 |
| Support to hand the drills. |
For the side the process was the same as for the previous support, I marked the boards, cut the waste with a coping saw and carved the curves using my spokeshaves. I then assembled the top shelf, the below support and the two sides using glue and dowels.
 |
| Top shelf, support and two sides assembled. |
I then assembled the two lower shelves, again with glue and dowels.
 |
| Gluing bottom shelves. |
After choping the dowels dead flat and planing sides with a smoother the support is ready for a coat of linseed oil and turpentine. Below is the result.
 |
| The support after one cor of oil. |
I will wait a day and will give it some coat of blonde shellac like the previous one and fixed it on the wall.