Monday, January 6, 2020

A missed rendez-vous

As I mentioned I missed my Christmas deadline to finish my sister in law TV stand and finish is the main culprit for the delay. But this does not mean I stopped working on it.

The last thing that I needed to tackle before starting the final assembly was the rear leg. The leg will be set using a tenon in the central part of the stand and at an angle (12 degrees from the vertical) so the joinery need to be done at the right angle.

I first cut the leg to the right angle then cut the tenon and cleaned the shoulders. This was easier than I expected.

Angled tenon

I then applied the shellac wash coats, stain and wiping varnish on the leg.
While the rear leg finish coats were drying I made  few keys that will be used to bind the stand base and the top. I used a scrap of birch (Yellow Birch or Betula Alleghaniensis to be precise) for these keys.

The five keys used to bind the top to the stand base.

The top will be bound using 5 keys, 3 on the front and 2 at the rear.

One key in place at the rear of the front apron.

Each key will go in a small notch at the rear of the front apron and rear enclosure so no key will be visible.

The key is going in a small notch.

This done and all the finish layers applied and dried on the different parts, I started with the final assembly.
The first parts to be assembled were for the front face...

The front face assembly.

...I then added the rear shelves enclosure...

Dry fit of the rear shelves enclosure before gluing.

...then came the two front legs...

Two front legs assembly.

...the bottom shelf...

Bottom shelf assembly.

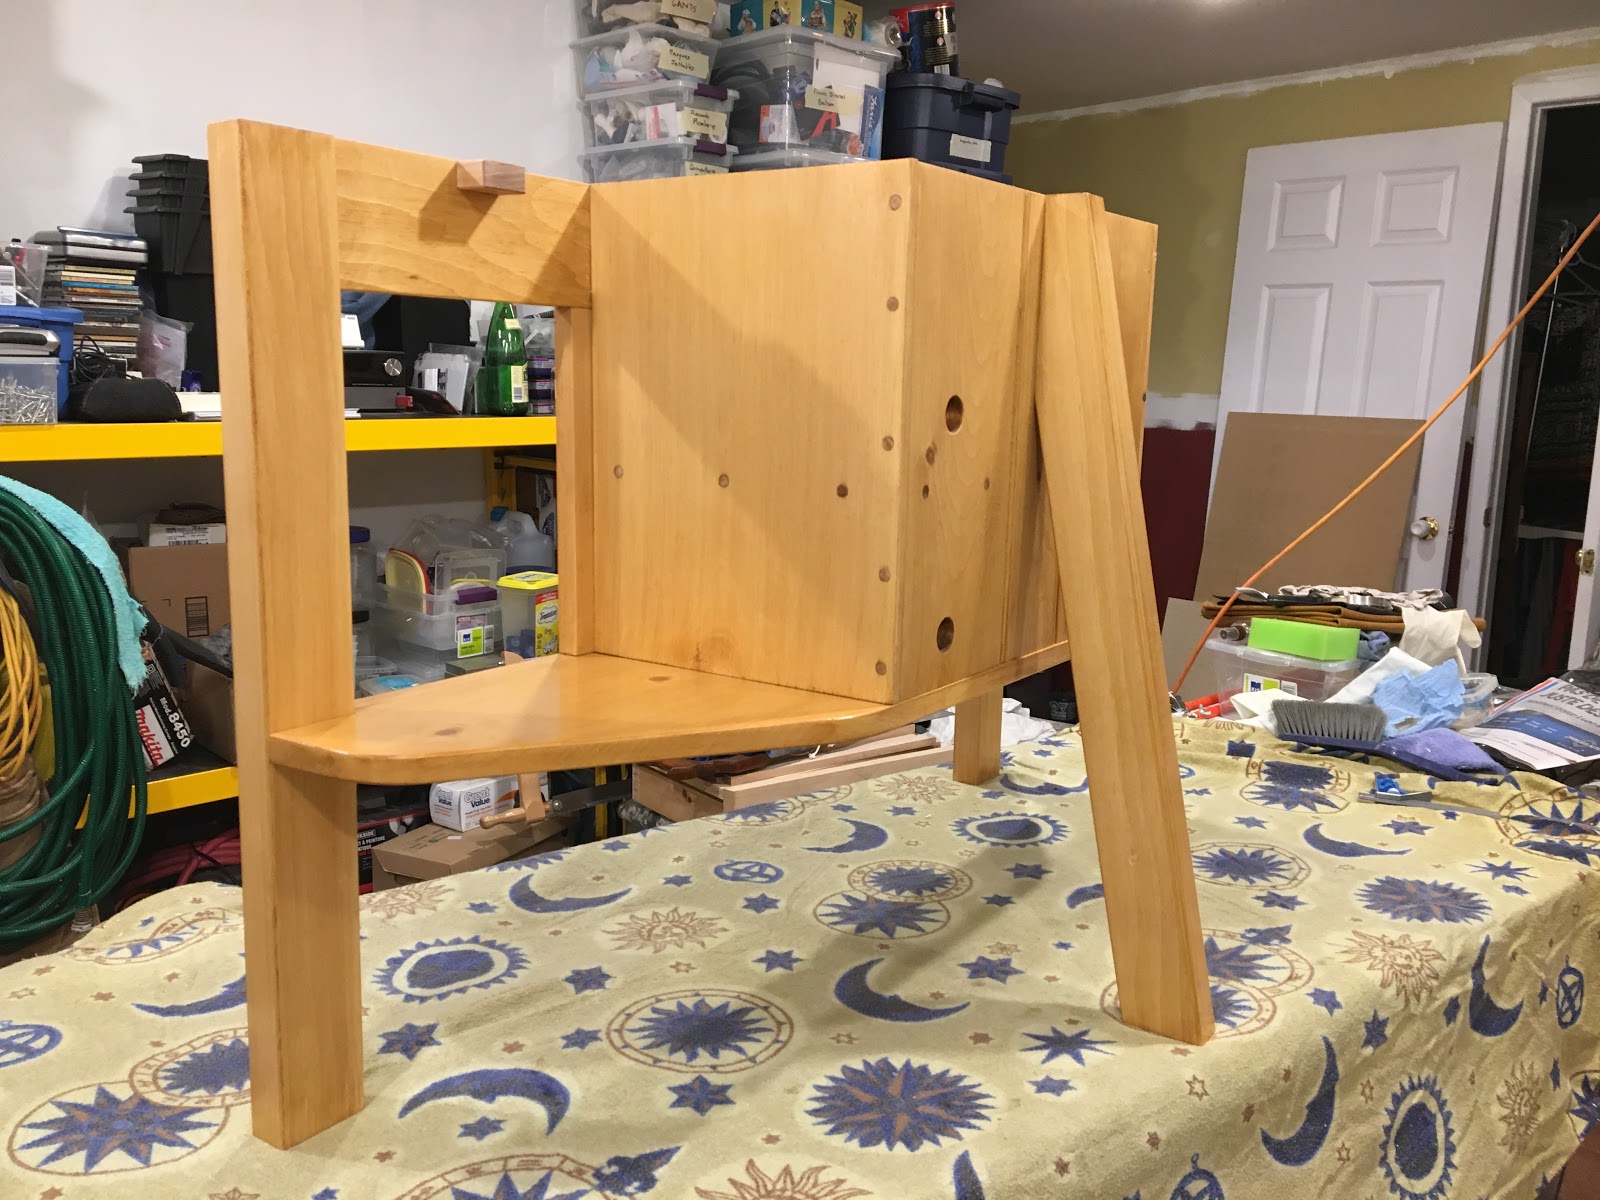
...and finally the rear leg.

Rear leg assembly.


On the previous picture are visible the wooden dowels used to reinforce the shelves enclosure assembly. For the bottom shelf I used some screws in the enclosure as this will not be seen except if you crawl below (but I used brass wood screw so even if you crawl below it will still look nice).

This ended the stand base construction and the final result, minus the top, is shown below.

TV stand base front view...

... and rear view.

The last thing I need to do now is to cut the top board to size and finish it properly.
Before starting with that last cut I want to build a sawhorse that as I do not feel comfortable to saw such a piece at wrist or hips height. But this will make another story...

Friday, December 27, 2019

Playing with dovetails

During Christmas we waste a lot of packaging and paper to wrap gifts that are unwrapped in a second. This year I wanted to do something different and as I have some time to kill waiting for successive finish coats to dry on my main project, I decided to play with dovetails and make a wooden box to wrap my wife gift.

First I never made any dovetail before so this was my first try and I was not expecting anything perfect. I have not much problem to saw to a line if I am careful enough so I grabbed some wood offcut and gave it a try.

I used some pine wood for that box, first because I love pine wood and second because I had some left over of the almost exact size I needed. After cutting all pieces to length I started to mark down my tails. I used a sliding bevel and set it to a 1:6 factor and marked the dovetails with a pencil.

I then cut to the line with my saw and cleaned the cut with a chisel. I do not have any pic of all the process as I did not think about it but anyway it is usual enough not to be illustrated.
I used the tails to mark the pins, cut them and clean all the cuts.

Bottom of the box is set in groves cut on each side. The side groves are easy to cut with a plane as they are covered by the pins on the front and back panels. I also cut groves in these panels but using a chisel like for a mortise as they are stopped groves not to show on the side.

I ended with the following assembly:

Side panels and bottom.
Same disassembled


The top cover is sliding in groves the same way the bottom is set. The end result is the following.

Almost done!

I carved a recess on the top of the cover plate so to be able to grab it.
Back to the dovetails... I did not find much more difficult to cut a dovetail than a tenon and mortise. However I did some mistakes. The main was to cut on the wrong side of the waste (shame). I did not mark the waste and was distracted listening to some documentary so the result was immediate, lesson learned.

I finished the box using bees wax and I am pretty happy with the end result.

A reusable gift packaging...


... made of pine wood, elbow grease and bees wax...


... showing less than perfect dovetails but still!

This is taking more time than to wrap a gift in a piece of useless cheaply decorated paper but this is reusable, nicer and also this is so much much more fun!


Tuesday, December 24, 2019

Santa passed by

Today I met with Santa. As I have been a very good boy this year he brought me a lot of little candies. Let start with the list.

First a Marples & Sons spokeshave and a dovetail saw. I am wondering if the spokeshave was ever used looking at it. The saw needs a sharpening touch up but does look good too.

Marples & Sons spokeshave and dovetail saw.

Second, a Millers Falls #10 plane. This is the equivalent of a Stanley 41/2. I wanted one so much but was not able to find one at a decent price. These are pretty rare on the market and usually the price is quite high, add to that the shipping fees and it will cost you a leg. This one looks to be a type 2 (more to come about it).

Millers Falls #10

As I plan to make some tools that will require some wood screw, I got a tap and die set to make wood screw. This one is for a 3/4 screw. These were also sold in set from 1/2 to 1"1/2 but I wanted to check the quality first. I did not try it yet but it looks to be well built.

Tap and die set for 3/4" wood screw.

Next, a small bow saw by Marples & Sons in very good shape, no crack and the blade is still sharp.

Marples & Sons bow saw.

Now a true jewel. This is a full set of Russel Jennings bits in perfect condition, even the box is not damaged and still have all the hardware. Again these are usually in a very high price range and the shipping cost is prohibitive but I found this one not far from me and at a very good price. It was a kind of guess as I was wondering if at that price the bits would have been damaged but the surprise was great when I saw there are all in perfect shape.


Next, a very nice little level by Marples & Sons (Do I seem to like that manufacturer very much?). Very nice and more pleasure to use this than my usual plastic level.


And finally the cherry, something that I wanted for the pleasure to handle one as I never got that luck before and I find it very funny, a Millers Falls 502B corner brace. Not sure I will use it a lot but I think this is a very funny tool.

Millers Falls 502B corner brace

Now that Santa brought me so many things I must go back to work and finish my TV stand project as I am already late!

Merry Christmas to you all!

Monday, December 16, 2019

Some steps, some progress.

Continuing where I left on my TV stand project I needed to make some more tongue and grooves in order to join the shelves and the face frame. I dismantled the frame and used a 1/4" chisel to make the grooves.

Grooves at the rear of the face frame.

Here the grooves are stopped where there is some tenon joinery. I made tongues on the side panel in the same way.

Side panel assembly.

I then did the same to the middle shelf and I was able to do a quick dry fit of the whole assembly.

A quick dry fit, view from the top...
...and from the bottom.

Next was to bore all the holes that will be used to reinforce the side and back with pegs. I first marked the hole centers.

Holes marked in the middle of a dado.

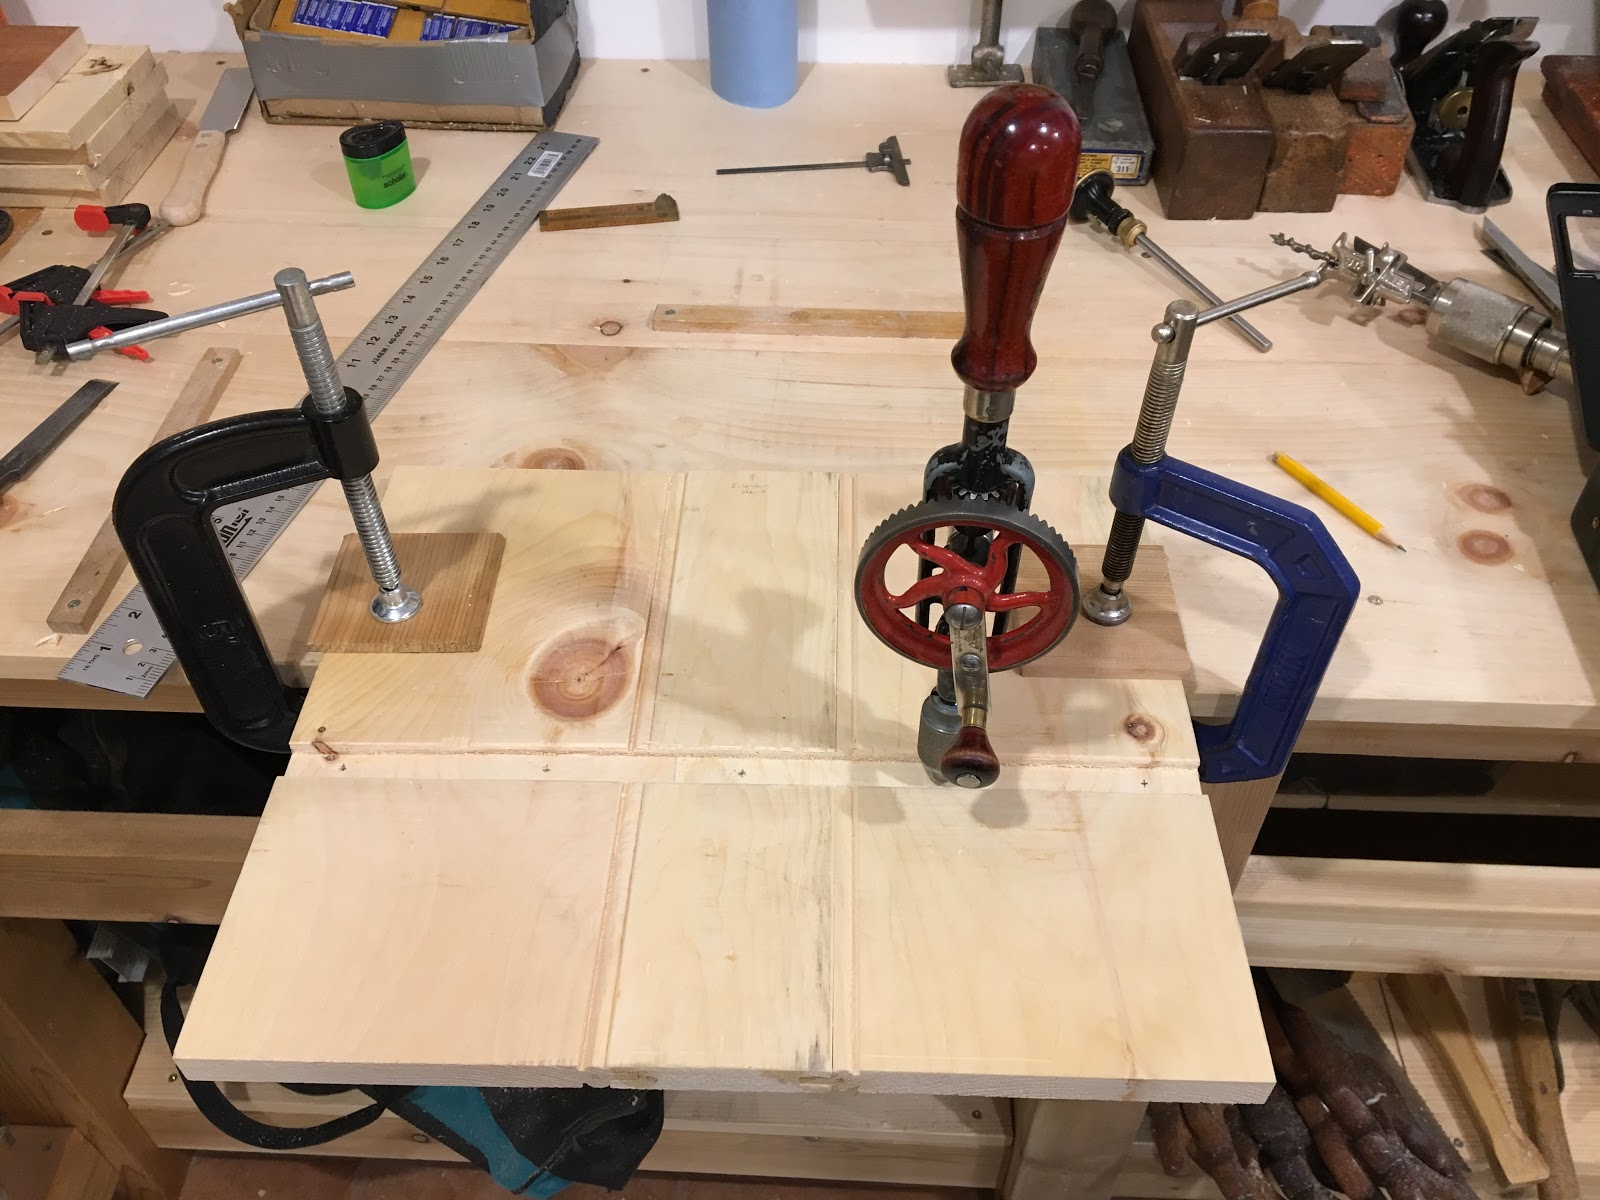
I then used an hand drill to make small pilot holes.

Making pilot holes.

I then used a hand brace to bore the peg holes.

Boring the peg holes.

I repeat this on all parts and called it done.
After having done most of the parts, I was able to clean some pieces and start the assembly. I began with the central muntins and rail.

Central muntins and rail glue up.

While the glue was drying, I took care of finishing the shelves interior. I used a shellac mix as a wash coat to try to avoid blushing. The mix is made of 1 part of amber shellac, 3 part of white shellac, the whole diluted 50/50 with alcohol.

My shellac mix used as a wash coat.

I mixed a part of amber shellac as after some trials I found out that it highlights a bit more the golden aspect of pine. Too much of amber shellac and the wood turns orange though. After light sanding I applied two coats of that mix. For each coat I brushed the shellac on then wiped it off so there is no build up.

Wash coat applied.

After leaving it to dry for the afternoon, I again sanded lightly with 220 grit and I applied the stain. The stain I used is made of natural components like nuts and is oil based.

The stain I used.

I initially used this for some floor made of larch wood and really like it. It does not smell anything else but nuts oil what I like very much. I applied the stain using a brush and left it dry 15 minutes.

Stain applied with a brush.

I then wiped it with a clean cloth.

Stain wiped off.

I like the result, not much blushing (but still a bit though maybe a third wash coat would help) and the final stain is exactly what I needed.
I left this to dry overnight. The day after I applied the first coat of finish. I was initially planning to use shellac for the finish but changed my mind (again) and will be using wiping varnish and wax.
I made my own wiping varnish by mixing oil based varnish, BLO and turpentine in equal part. I used a clean rag cloth rolled as a ball to apply it.

First coat of wiping varnish left to dry.

I will leave this to dry overnight before applying a second coat. For the shelves interior two coats will be enough as this will not be exposed much to sight.

While the wiping varnish was drying I tackled one of the last part I needed to make, the lower shelf.
The shelf will have a form similar to the top form. I marked the board and did a rough cut with the saw.

Lower shelf rough cut.

I then planed the cut clean and used a chisel to carve the curves.

Carving the curves.

When the whole profile was done I lightly sanded the round part. I then needed to plane a tongue where the shelf will be assembled on the face frame.

The tongue used to join the shelf with the face frame.
The final result.

Few things are left to be done and it will be mostly a matter of some adjustments, applying finish and glue everything in place.


Monday, December 9, 2019

A Range of Tongue and Groove Joinery.

Pursuing the work on my TV stand project, I had time during the weekend to work on the middle shelves section. This section will form a box with a middle shelf and a bottom board will close the box and be lower shelf. That box inner dimensions will be 10"1/2 deep, 14" high and 16" wide to be able to store a TV cable receiver and DVD player.
The first thing to tackle is to dimension the required pieces as follow:

  • 11"1/2x14" boards (2) as the two side panels.
  • 16"1/2x14 board as the back panel
  • 11"1/2x16"1/2 board for the middle shelf.

As I want a straight cut and the board is too wide to fit properly on my miter box, I set a fence using a scrap piece of wood and a clamp and used the long backsaw from the miter box to make the cut.

Using a fence to cut straight...
...and using the long backsaw.

I check the cut from squareness and cleaned the end grain using my low angle block plane.
 
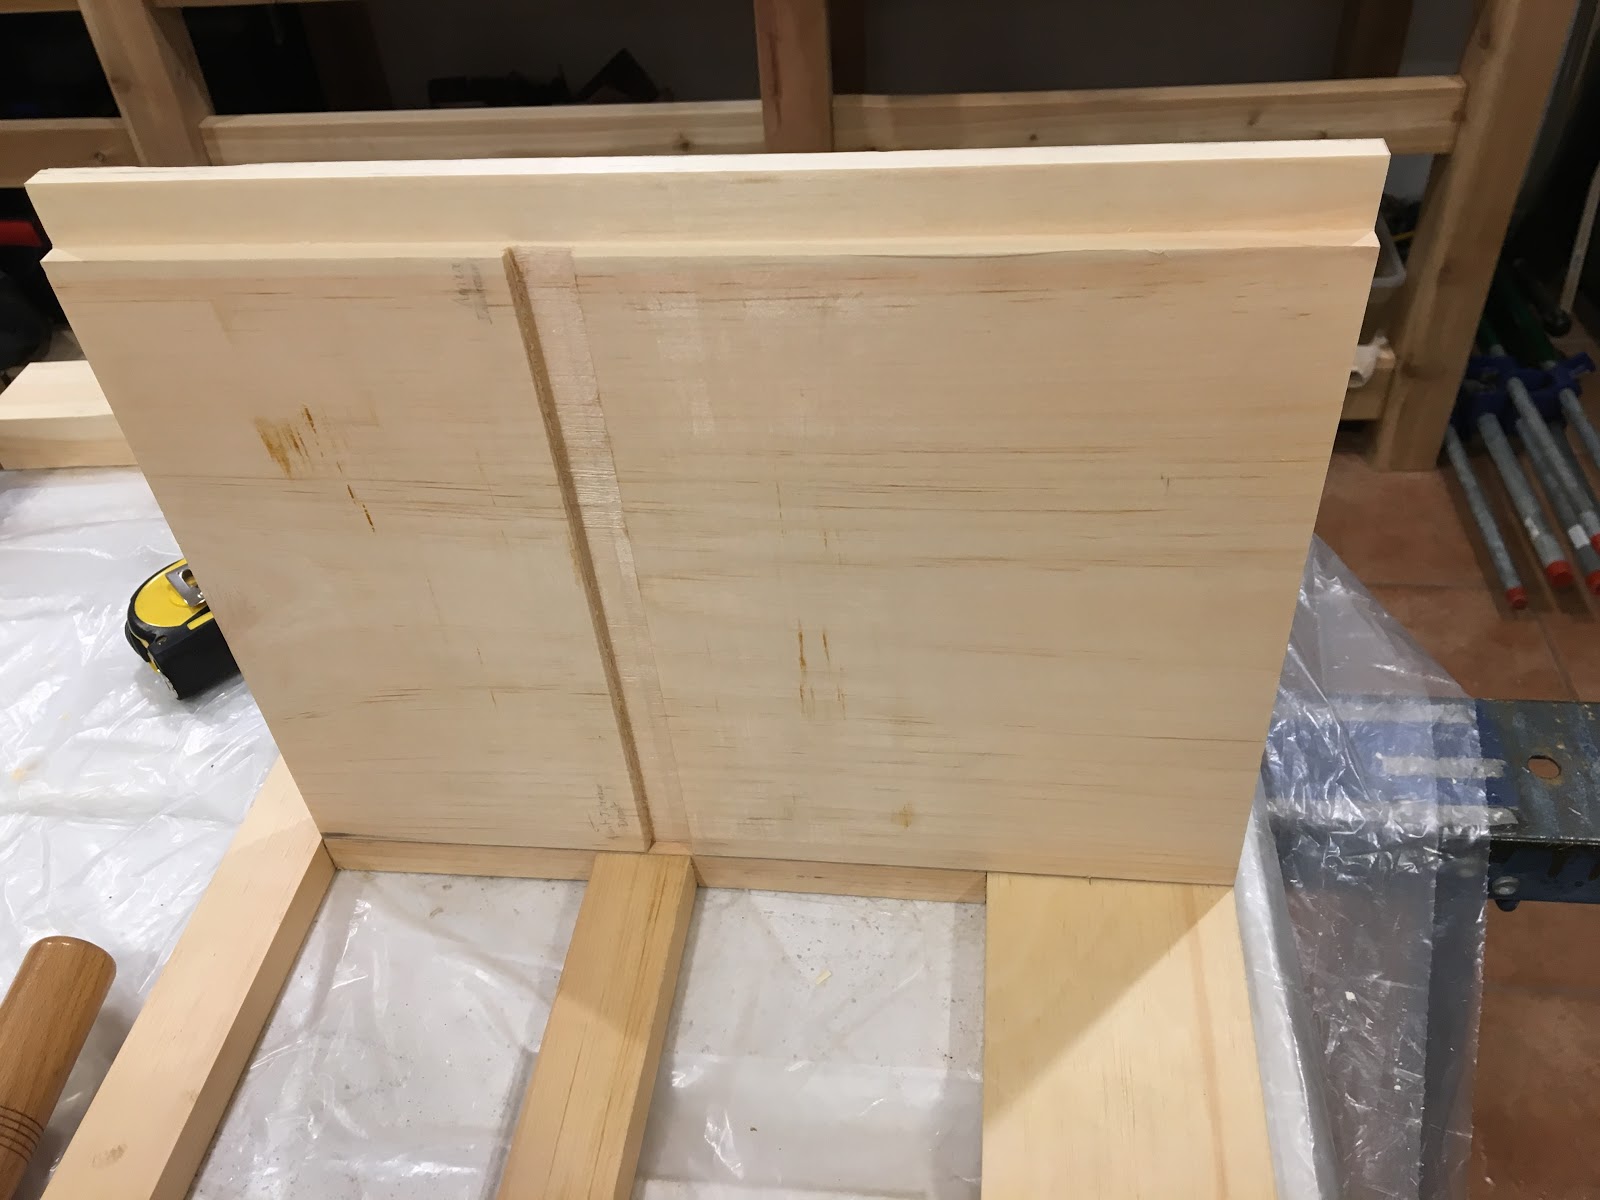
Considering its dimensions, the back panel is made by assembling two 7"1/2 boards with a 3"1/2 board. The assembly is done using standard tongue and groove joinery, 1/2" deep, made using my Record 50. 
I started by making the tongues on each of the 7"1/2 boards.

Using the Record 50 to make tongues and grooves.

I then made the grooves on each side of the middle board and added side beads.

Dry fit of the back board assembly.

Next is to glue up the assembly. In theory I do not have to glue it as it will be seated between the two side panels but as the back panel will support the rear leg I prefer to glue it so to make it stronger.

Gluing the back board assembly.

This back panel will be set in a rabbet made at the rear of each side panels and the join will be reinforced with dowels. I used my Record 778 to make the rabbet on each side panels.

Using the Record 778 to make the rear rabbet in each side panels.

That plane is cutting very well and the fence having two rods it does not tend to move like is doing my Craftsman plane that have only one rod. I still need to practice though as I have the tendency to slightly shift down the plane on the left side resulting in a tilted rabbet.

The middle shelf will be set in a dado made in each side panels too. First I noticed that the shelf board is slightly cupped so I used my wooden Peugeot plane to get it back to flatness.

Using my wooden Peugeot plane to flatten the middle shelf.

This plane is truly amazing. It rides on wood so smoothly and its iron cut like nothing else. The board has a big knot on one side and this was nothing to plane. The iron cut through the knot as smoothly as through butter and without a hick up. 
Flattening the board reduced its thickness to 11/16 so I need to take this in account when making the dado.
I used a marking knife to mark where to make the dado on the side panels, then used a chisel to make a kerf on the inside face of the dado. I then used my Record 42 shoulder plane to start the dado cut while tilting it.

Using the Record 42 shoulder plane to start the dado cut.

When I reached the bottom on each face of the dado, I switched to my router plane to finish the cut.

Switching to the router plane to plane the dado's bottom flat.

Finally using a chisel I cleaned the corners and I was done.

A clean dado.

Time to try a dry fit of the shelf to check if I did it right (or wrong).

The shelf fit...


... pretty good fit.

That is all for today. Next will be to make tongues and groves so to assemble the box with the face frame, to drill the holes for the pegs and to assemble every pieces altogether.
I am thinking to first finish each piece before assembly as it would be easier to apply stain and shellac on each piece than on the fully assembled body. 
My plan for the finish is to apply and sand a coat of white shellac to seal the wood and prevent blotching, then a coat of stain, then few coat of shellac and finally to wax the whole to get a nice sheen.