
With the middle batten in place the drawer now is ready to receive the bottom boards.
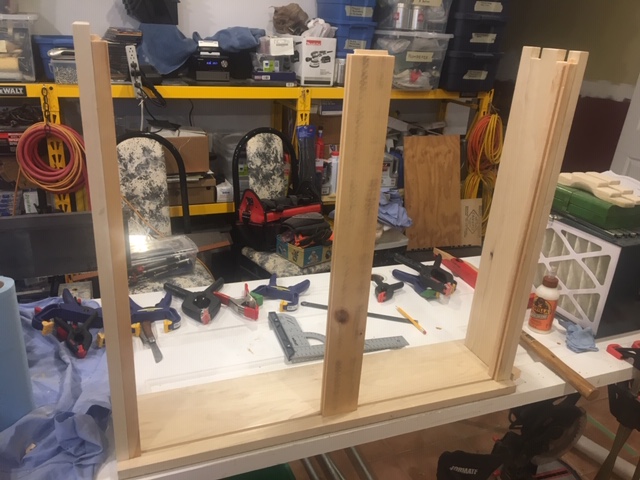 |
| Ready to receive the bottom boards |
I also need first to solve my problem with the Record #778 plane. I filed a bit the blade bed and it is better. I then looked at the blade to be sure it was perfectly flat and it is. But looking at the blade I also found out that the main issue was in the eyes of the owner...
When I sharpened the blade, I checked that the edge was square to the side... but always to the same side... that was not necessarily the right side... Checking the blade I saw that both sides are not perfectly parallel and the side I used to check the squareness of the edge was the external side of the blade, the side that stands left to the plane. But the side that makes sense is the opposite one, and when I checked the edge of course it was not square to this side. So long story short I made the edge square to this side and now everything is fine and razor sharp.
 |
| Perfect shaving from the Record 778. |
Before starting to cut the rabbet on the bottom boards I did a quick check of the plane setting to be sure width and depth were adjusted to the right size. First try was right on the spot but I want to cut the rabbet a hair deeper and wider to allow for wood movement.
 |
| Right on size, but need to add a hair for wood movement. |
 |
| Just a hair deeper... |
 |
| ... and wider. |
I was ready to start with the boards. I cut 2 boards to length and did the left and right side rabbet to check how that will look.
 |
| Cutting the rabbets on the first boards. |
After having cut the two first boards I was not able to resist to the temptation, I needed to do a dry fit to see the result.
 |
| Two first bottom boards in place, inside drawer view... |
 |
| ...and from the outside. |
I like the way it looks so tomorrow I will do the lap joins and complete the same on all boards.
Today I also received some new toys.
 |
| The new toys of the day. |
On the left are two gauges from Marples, at the top a combination gauge and a mortise gauge at the bottom, this last one is made of ebony. Between the two is the depth post that was missing from my Stanley 71 router plane.
From top to bottom the saws are, two Tyzack Sons & Turner (the first one older than the second), a Disston and a Footprint. While you may think the footprint has not its place among the 3 older saws, I wanted to have a Footprint in hands to try it and check the build quality, and at first sight I must say that I am nicely surprised, but this will be the subject of a separate post later.
That Marples marking gage (brass & Ebony) is my all time favorite. Love the heft in my hand, very solid, some comes with a built in (concealed) adjuster mechanism. Sometimes referred to as the Ultimatum series of tools (think brace).
ReplyDeleteSome don't like them because you need another tool to adjust it (screwdriver). But that means no annoying adj screws in the way, which are easy to bump out of adjustment.
I tend to leave some of my marking gauges set throughout a project, suit me just fine.
Bob
Me too I like this brass & ebony very much, its weight in my hand makes it really nice. I have another one of the same model made with rosewood & brass instead of ebony, very nice too. Both have a concealed adjustment screw on the brass bar end. I too like to have 2 or 3 gauge so I can set adjustment once and for all for a whole project when making multiple cuts of same size.
Delete