Wednesday, December 4, 2019

TV Stand

As Christmas is approaching fast, I need to tackle my TV stand gift for my sister in law.
I already jointed the boards needed to make the top. After having cleaned the glue a bit I traced the form that will be cut.

Top form marked with pencil.

It matches perfectly the full size plan I made before.

The plan match perfectly the trace.

I will need to cut the top as close to the line as possible so not to spend too much time cleaning the cut, but also not too close so not to risk any mess up. This will be an interesting moment!

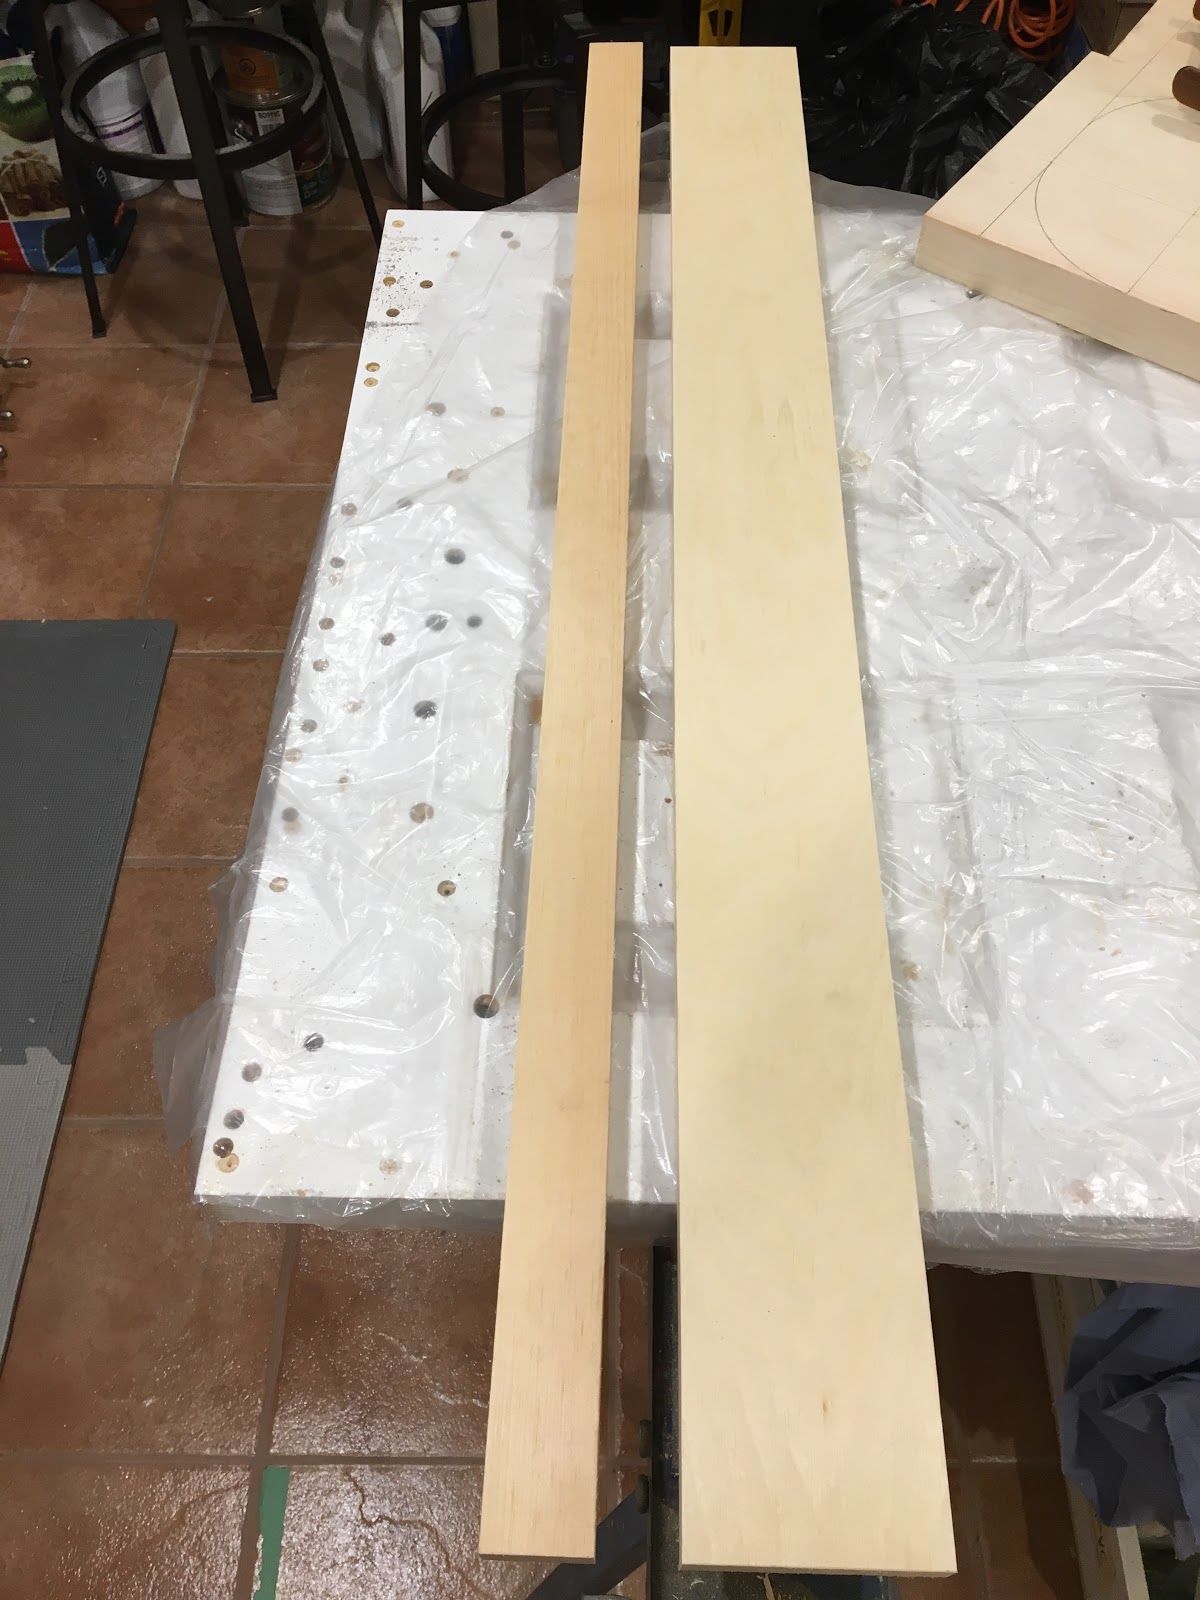
But for now I will take care of the face frame assembly with front legs and shelf. I first need to cut two front legs, one apron, two muntins and two rails to the correct length.

Two legs...
...apron and bottom rail.


...and central muntins and rail.

The front frame will all be assembled using mortise and tenon joinery, so next step is to cut all tenons. After having marked and sawed the tenons I am using a router plane to bring them back to exact size.

Using the router plane to finalize tenon shaping.

After each pass with the router I am checking the depth of the cut using a combination square set to the correct depth.

Not quite yet...

If the depth is not correct I then increase the router depth by half a turn on the depth adjustment wheel.

Here we are.
Tenon sized to the right thickness (1/4 of an inch)

After a while the tenons are done. The router plane really makes the tenon cleaning an easy thing.

A bunch of clean tenons.

At the end the central part of the face frame will be assembled like this.

How the central pieces will be assembled.

Now that the tenons are done, I need to carve as many mortises as needed. Considering the small size of the mortise, I did them directly by hand using chisels, I did not bore the waste first.

Mortise in the leg top.

This is quite easy in soft wood like pine, just need the chisels to be sharp enough (and not more).
After all mortises were done on each piece time has come for a dry fit of the face frame.

Face frame dry fit, looks good to me.

Next step is to tackle the central box and shelf, stay tuned.


Monday, December 2, 2019

Peugeot Freres Plane

A while ago my father brought me a Peugeot Freres plane from France that I did not restored yet, well until this last weekend.

Peugeot Freres plane.

This plane is made of Cormier wood (Sorbus Domestica) and it is stamped on the plane. From the stamp on one side of the plane this is a 48mm plane.

Peugeot Freres stamp on the plane nose with 48 indicating
the width in mm.

The plane sole is in perfect shape.

The sole has no damage and is straight and flat.

That plane has an interesting mechanism to set the chip breaker on the blade. A screw allows to move the chip breaker/blade up and down. The head of the screw goes onto a pin at the top of a slot in the blade.


Chip breaker mechanism
The screw head in the blade. The blade is
stamped Peugeot Freres Garantie.


The chip breaker shows some sign of rust.

Rusty chip breaker.

I cleaned it using my usual combination of polishing compound for silverware.

Chip breaker looking better now...
...and shiny.


The blade was totally dull and looked like having been ground but never honed. The grinding made a hollow on the blade bevel. I sharpened it starting with 220 grit, followed by 1000 and 4000 then up to 8000 grit. I finally used the leather strop for final mirror polishing.

The blade sharp and clean.

I did not clean the whole blade surface but only a third of the length on the bevel end.
I put back the blade and chip breaker assembly in the plane and after few adjustment the plane was ready for a test run.

Nice curly shavings.

This plane is truly a pleasure to use. I applied some beeswax to the sole and it is rubbing incredibly smoothly on wood.

Clean and back to work.

This plane will certainly be one of my favorite from now on, I really like the feeling of wood on wood and it is cutting the wood very nicely.


Tuesday, November 26, 2019

A Gift to Myself

Last weekend was my birthday, and as in terms of tools I think that self served is well served, I bought myself a gift that I received yesterday.

My gift to myself.

Ok the pleasure is limited, there is no surprise here so lets move on.

Package content

This is a ECE frame saw with two replacement blades. I bought the two extra blades as I want to make a Roubo frame saw one of these days, when time will permit so they will be readily available.
It took me 5 minutes to assemble the ECE saw.

The assembled saw.

The saw looks of good quality and well built. Uprights and handles looks like to be made with beech wood while the middle beam is made of a more lightweight wood, not sure what type.
At first sight I thought the top tensioner was something cheap (a simple threaded rod) but after assembly this is working fine and doing the job.
The blade does not look to have been so much sharpened, teeth look more like being stamped steel. You can feel it when letting your finger go along the side of the blade teeth. The teeth feel smooth on one side and rougher on the other one.
I guess that this blade would benefit of some sharpening but as I did not try it yet I cannot say.
Not sure when I will use it but for sure I will need some practice to be able to handle it properly.

After having contemplated my new toy for so long, I switched back to my TV stand top. I cut the last board and glued it to the two first.

All boards clamped.

Next step will be to plane this clean and flat and to cut it to shape.

Monday, November 25, 2019

A Good workout

When people ask me what kind of sporty activities I have, my answer is: planing boards! This is the best activity in my sense. Planing puts all your body muscles to work, from arms to legs.

Following my last post, I have to plane boards to thickness to make the drawer bottom. These ten boards were resawed by hand, are quite rough and are more or less 5/8" to 3/4" thick. I need to get them flat and 1/2" thick.

Before starting that heavy action session I turned to the drawer rails that I made last time. I needed to glue them to the drawer side. I clamped them in place so the glue has time to set while I am planing the bottom boards.

Gluing the rails to the sides.

It took me around 30 minutes to flatten and size each board... and a lot of sweat!

Half of the bottom board are done.

Two hours later I planed the rail assembly.

Planing the side and rail assembly
Ralph do you recognize that plane?


I got a pair of sides ready to be grooved. 

The drawer sides before rabbeting the rails.

I used my Record 50 here again to make the grooves in the rails where will fit the bottom boards.

Grooving the rails.

I ended up with the finished drawer sides ready for final assembly.

Drawer sides ready for assembly.

Now, as clock is ticking, it is time for me to move on to my "real" project, the TV stand for my sister in law. Thinking about it I changed the design a bit. I also made full size plans.

Top view, pencil mark are not very visible on the picture.
Front view.

I found very useful to make these full size plans. First this allows to get a clear picture of the size and if it will fit. Second it allows to take direct measurements.
I started by working on the table top. It will be made by assembling 2" thick boards. I started to plane the boards to the right thickness. It was a real workout again and gave me a whole bag of nice shavings.

I need to clean that mess!

I then assembled the two first boards.

Two first boards clamped.

When glue was set later in the day I cleaned the assembly.

Cleaning the two first board assembly.

Next will be to add the third and last board then to mark and cut the table top to size.


Wednesday, November 20, 2019

Some progress and fun

First of all, to answer a question from Ralph ("The Accidental Woodworker") about the way the knob is attached on a Millers Falls #709 or #714, here is a picture, as a picture worth a thousand words:

Knob and pin on the Millers Falls #709.

The pin slides in the plane body and the knob screw in the pin to lock it.

As a side track, I needed a flat screen wall mount so instead of buying some cheap metal plate made in China, I decided to make one with few wood scraps. It is very easy and 3 wood pieces are enough.
First I needed a plate that goes on the screen back with VESA mount:

A scrap piece with hole drilled to the VESA
specification for my screen.

To mount the TV on the wall I made a French cleat with two pieces of 2"x3" pine that I planed at 45 degrees.

Two side of a French cleat.

One part will be fixed on the wall the other will be fixed on the screen back plate, done.
This took me less than 30 minutes to do, the longest was to plane the cleat parts what could have been made with a saw to go faster.

This done I was able to continue working on my drawer and I made the two side rails where the bottom will slide in. I am using two small boards that I planed to 1"1/4 x 3/4". I used my Record 050 to plane a bead at the top.

Beaded drawer side rails.

I really like that Record plane, it is lighter than a Stanley 45 and is making nice shavings.

Nice looking shavings.

Last step is to make a small tenon at each end of the rails so they fit in the front and end grove. I marked the pieces and cut the waste using a Japanese flush-cut saw.

Using the Japanese flush-cut saw for tiny tenons.

This saw is cutting like a razor and make very clean cut for tiny tenons with it very thin blade.
I ended with two rails that I will first glue on each side of the drawer then plane a grove for the bottom boards.

Tiny tenons at the rails end.

I will first glue the rails as this will make easier to hold them while planing the groves.
Now I need to plane all bottom boards to thickness, some sport and sweat coming up.


Friday, November 15, 2019

From outer space...

In my previous post I asked what plane was making the thick shavings shown on picture. Most would have answered a Jack plane but it was more than that. It is a jack plane from outer space!

A jack plane from a sci-fi comics, the Millers Falls #714.

I am the lucky owner of that Millers Falls #714 type 1 from the so called "Buck Rogers" era.
Some says that this plane is a collector for its exceptional design but an awful plane to use. While I must admit that its design makes it a piece of exception in the plane world, I disagree about its quality as a plane. This plane is a beast of jack plane!

What a shape!


First it is heavy and I like that. Second its massive tote makes it really enjoyable to handle for someone with big fat hands like me. Last, using a plane looking like this one is like driving a convertible Chevy Corvette  from the 50's on a sunny Sunday.
This plane cuts thick large shavings and eats wood like nothing else and I really love to use it.

But this is only the beginning of the story, there is more about it.
This massive big boy has a little bro, and I am lucky enough to own a #709 type 1 too.

The little brother, the Millers Falls #709


Again, comments about that plane are the same, a collector but not a user and as a smoother it is terrible as the mouth cannot be closed... well only blabla.
Like any other plane the mouth opening can be set the way you want, just that it is not really convenient as the third screw is under the tote that needs to be removed.

The tote removed reveal the third screw for mouth setting.

So to  set mouth opening you need to remove blade assembly and the tote to reveal the screws. I must admit it is not very convenient. But how often do you change your frog settings? I do not know for you but for me it is near to never.

When properly sharpened and set, that plane is as capable as any other smoother.

Some quite thin shaving.
I tried it onto some scrap wood and it gaves me a silky smooth surface, same as my other smoothers if not better,  but in a stylish way!


Wednesday, November 13, 2019

Elbow grease and sweat: resawing by hand

For the bottom of the drawer I currently build, I will use some 1/2 ship lapped pine boards like for my previous one. For my last drawer I used my table saw to resaw 1"1/2 board that I planed to get two 1/2" thick boards. At that time I tried to resaw by hand but got disappointed by the result so I turned to the table saw. This time I wanted to make everything by hand, even resawing, and I will not turn back to the table saw.

You may wondering why not to take a 3/4 board and plan it as it would be simpler. Well it would be simpler for sure but where would be the fun? Moreover it would cost me near to nothing to make these boards by hand and it will be a good training exercise to improve my resawing skills.

So here we go, I took my lumber, cut it in five 14" long pieces as at the end I need 10 boards, I marked the center line all around the boards and the fun began.

I used the usual well documented and explained process of sawing from one corner then turn the board etc, no need to explain this here as you can find all this in numerous blog posts and article on the web.

I tried to make use of two different saws, both well sharpened, to find out which one would be the best. The first one is a Canadian Disston D8, 10 tpi.

My Canadian D8...
...10 tpi.


The second one is a Disston D8, 5 1/2 tpi.


The D8 beast...
... with monster teeth.


After having saw the 4 first boards it is obvious that the two saws are very different.
First the Canadian D8. The blade is shorter and a bit less flexible, however it requires more effort to be pushed through the wood. 
On the other hand with the 5 1/2 D8, the blade is longer and more flexible what makes it, for me, harder to keep it on a straight line, but the cut is far more aggressive and requires less effort to be pushed through the wood what is helping down the line. That saw is going through like in butter!

The result I got while resawing were mixed, the best I could do is this:

Best result I could get...
...not bad but not a perfect saw line.

I guess I need more practice! Anyway after resawing the board I have to plan them flat and to the right thickness. This is what the end result looks, not bad.

A flat board, flat enough for a drawer bottom.

Now a little challenge... what is the plane that gives these nice thick shavings?

A bunch of nice thick shavings...


The answer will come in a future post!